Stash
Featuring project diaries, fabric cataloguing, and powerful filtering tools, the Stash app for iOS helps quilters and sewists keep their "Stash" of projects, fabric, patterns, and notions organized. Stash was initially designed in a personal Design Sprint.
- User Experience Research
- UI Design for iOS
Introduction to Design Sprints
The Google Ventures team developed a time-constrained process called Design Sprints to "unstick" a stuck project or rapidly develop a new one. Although intended for teams, I went through a Sprint on my own to quickly design a mobile app to solve a problem I'd experienced while sewing and quilting.
A Design Sprint is a five-day process; here's what I did each day.
Day 01 • Understand
What are the project goals?
- Design a mobile app to help sewists and quilters organize their fabric, projects, and tools.
- Utilize the Google HEART framework (below) to understand if the design is successful, specifically targeting Happiness, Task Success, and Adoption.
- Happiness
- Engagement
- Adoption
- Retention
- Task Success
Why is this needed?
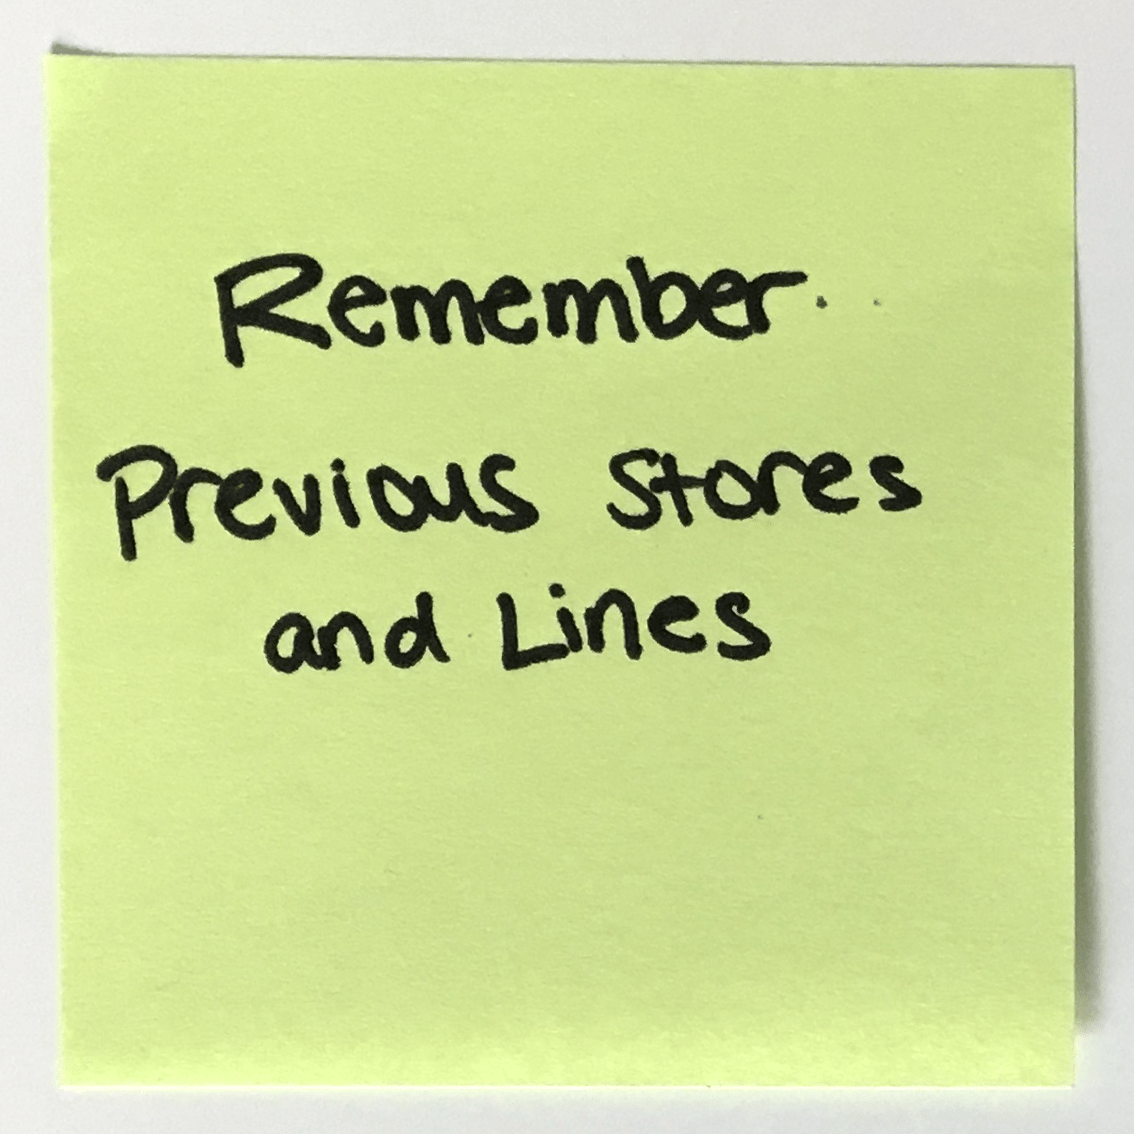
- Many quilters and sewists build up enormous stashes of extra fabric at home. These stashes are hard to keep track of, leading to purchases of duplicates and forgotten fabrics.
- "UFOs" or "Un-Finished Objects" plague many a quilter and sewist as projects are started and then abandoned.
Are there any existing solutions?
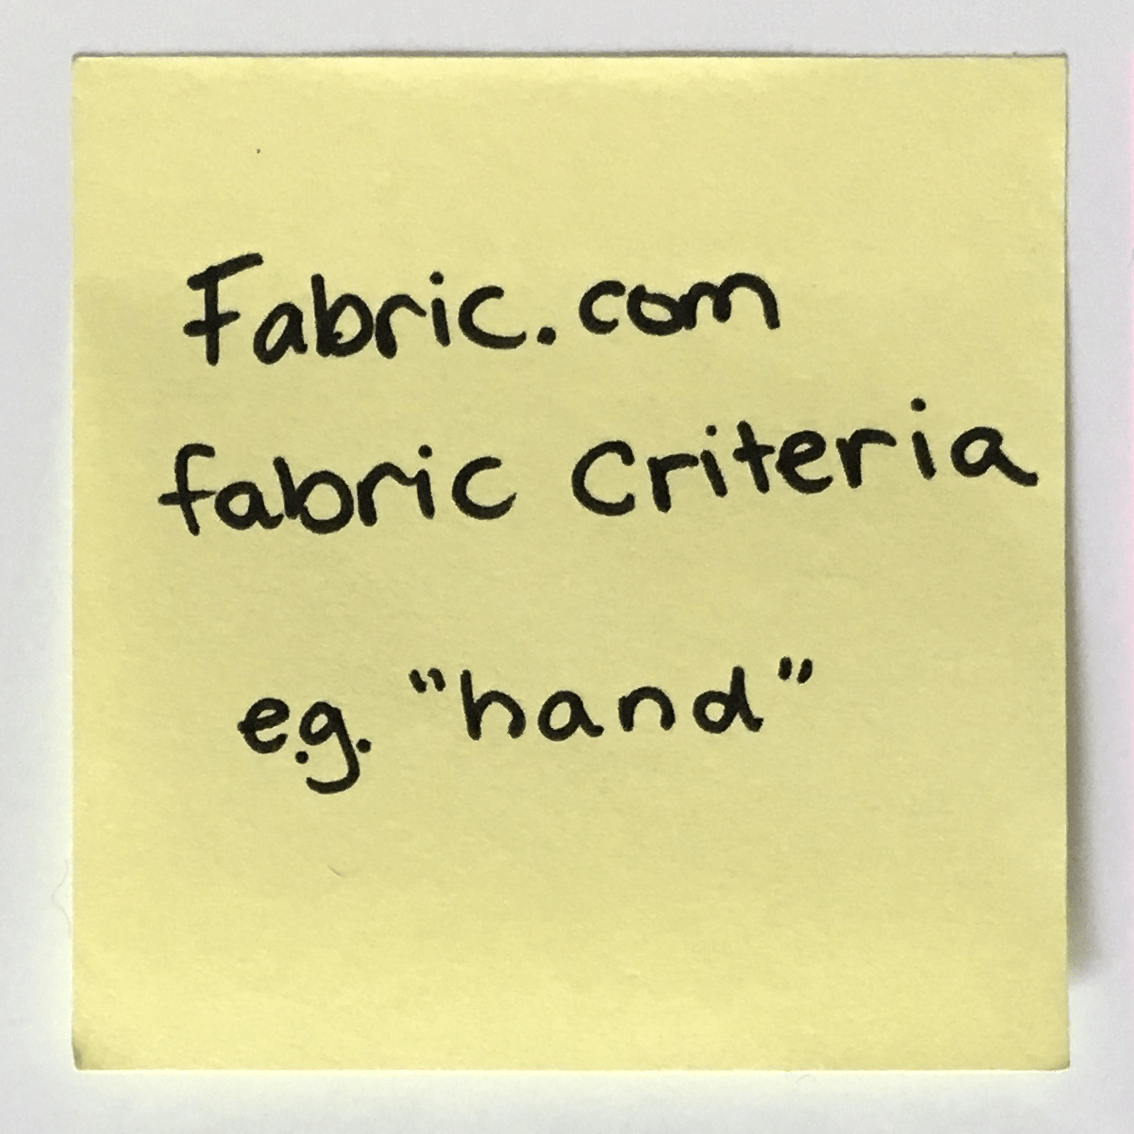
Star Fabric (figure 1.01), an iOS app with limited filters and less-than-glowing App Store reviews, and without support for notions, patterns, or projects.
Starting with my own issues with Star Fabric and feedback from its App Store reviews, I conducted a lightning demo and a competitive analysis, paying attention to features that Star Fabric's users wanted to have and complaints about their experience using existing features. Next, I wrote and sketched the most important user stories:
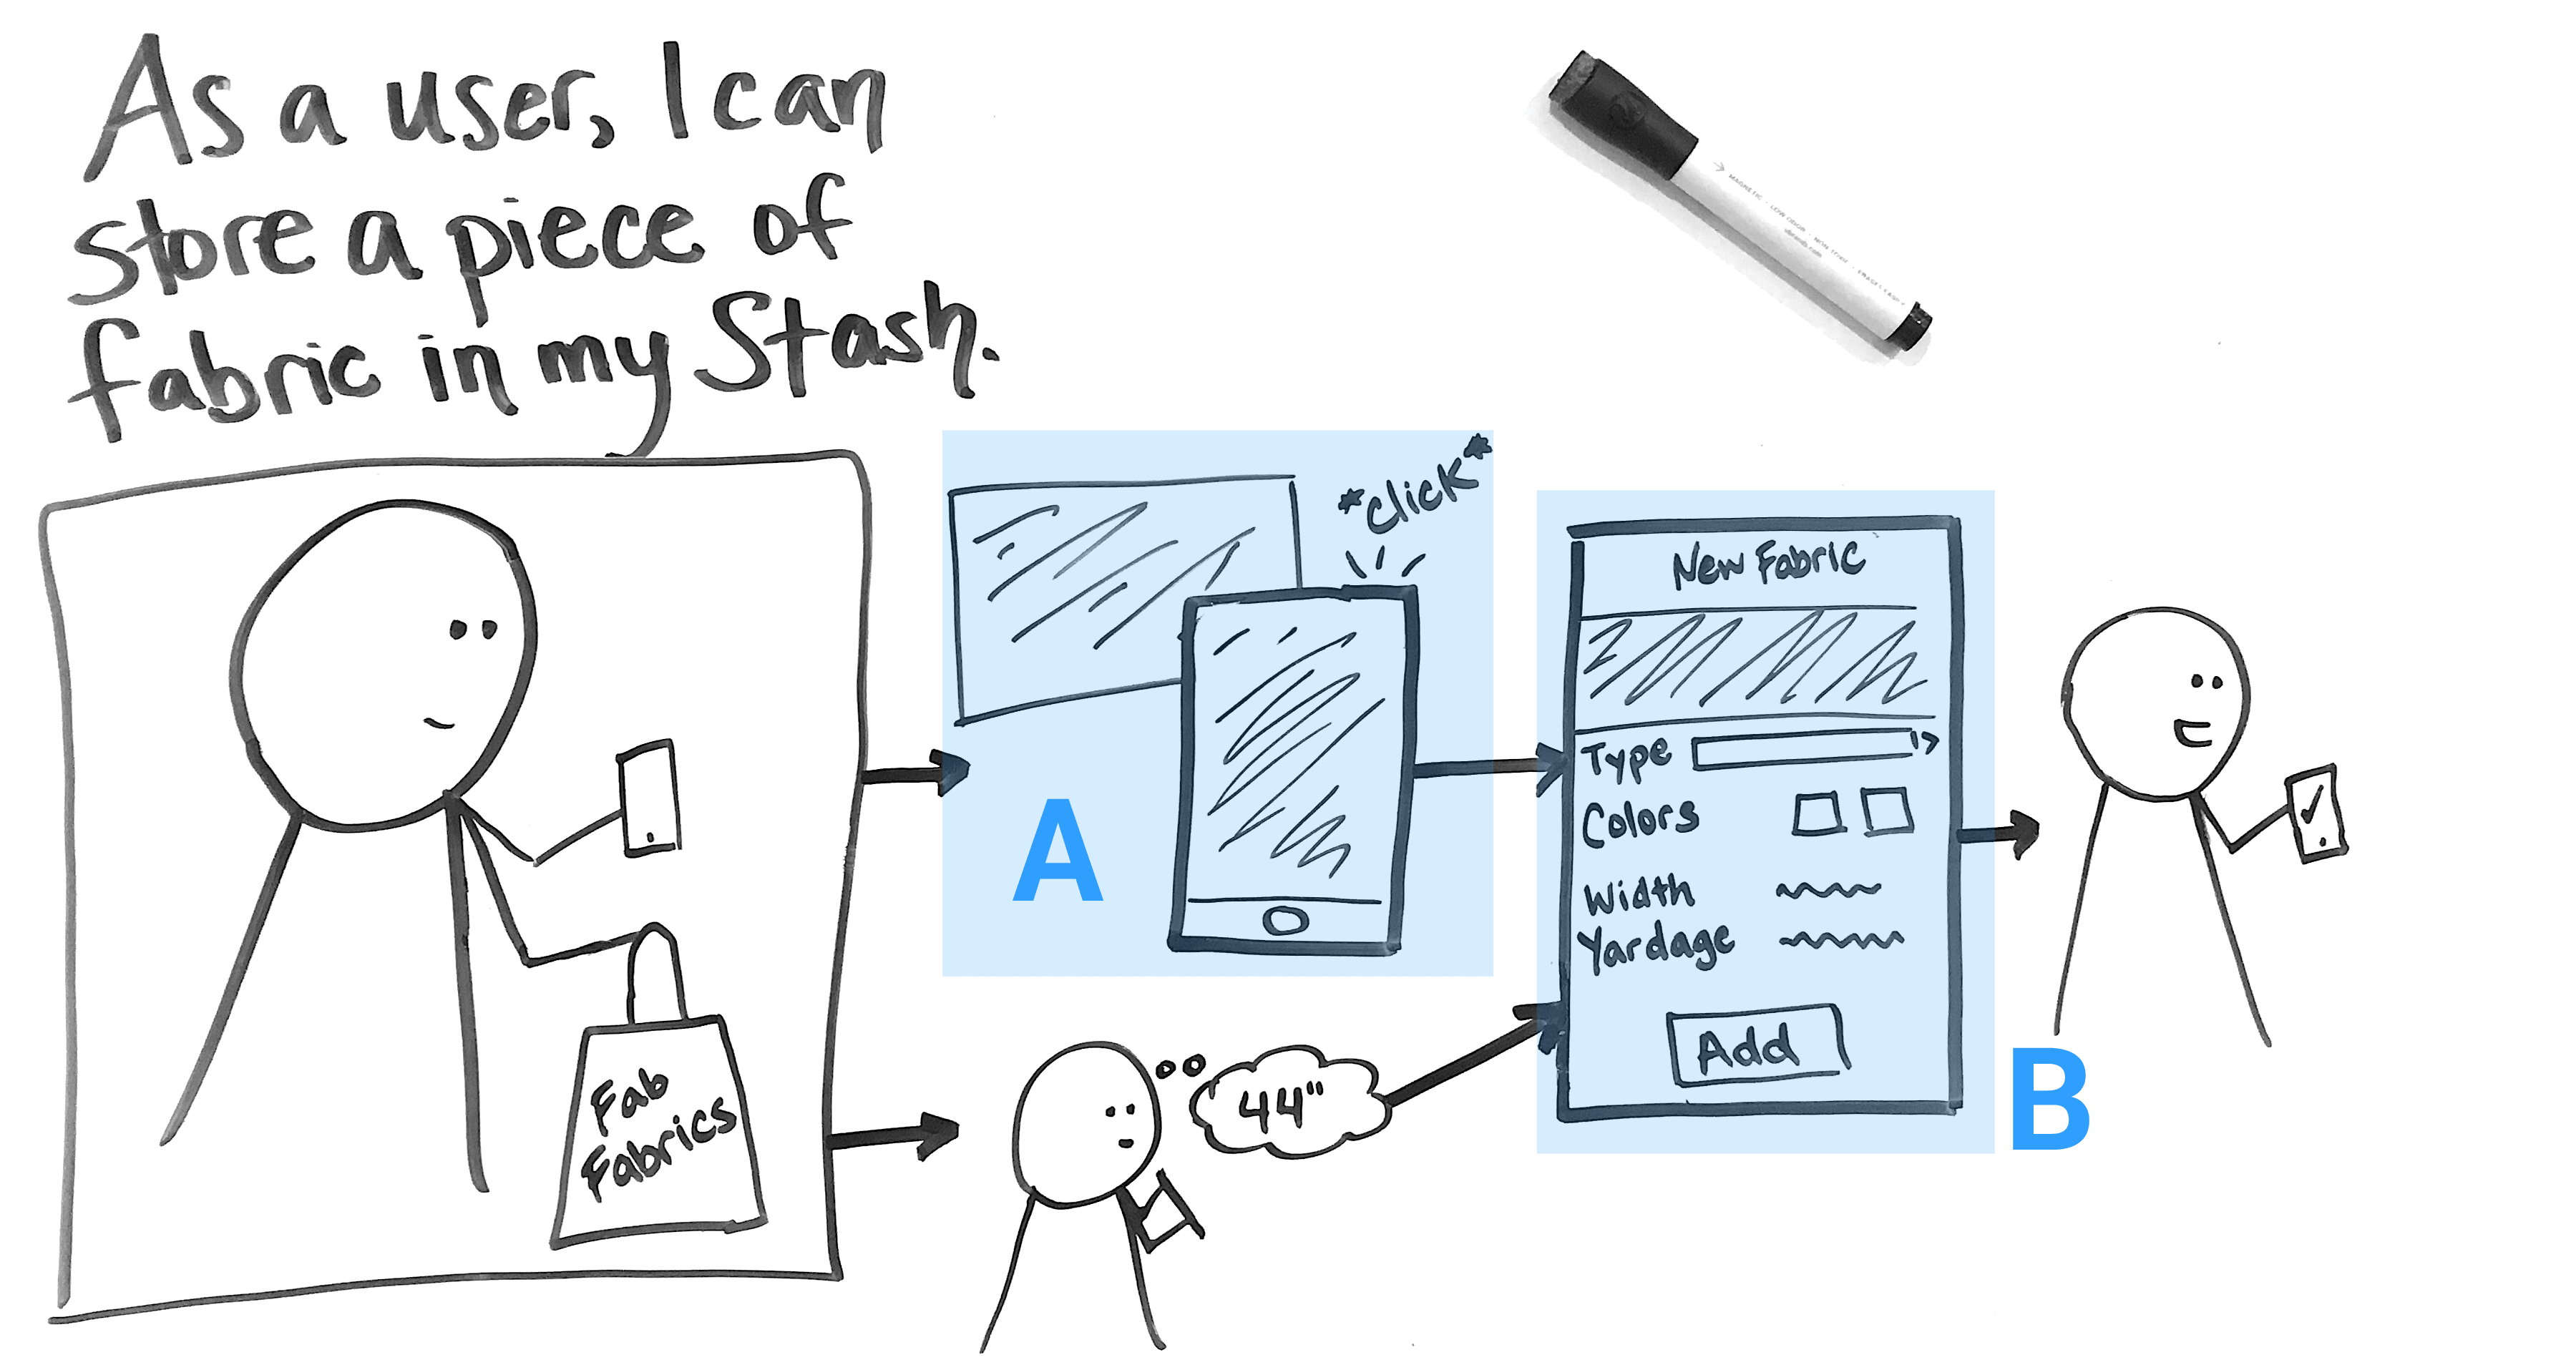
As a user, I can...
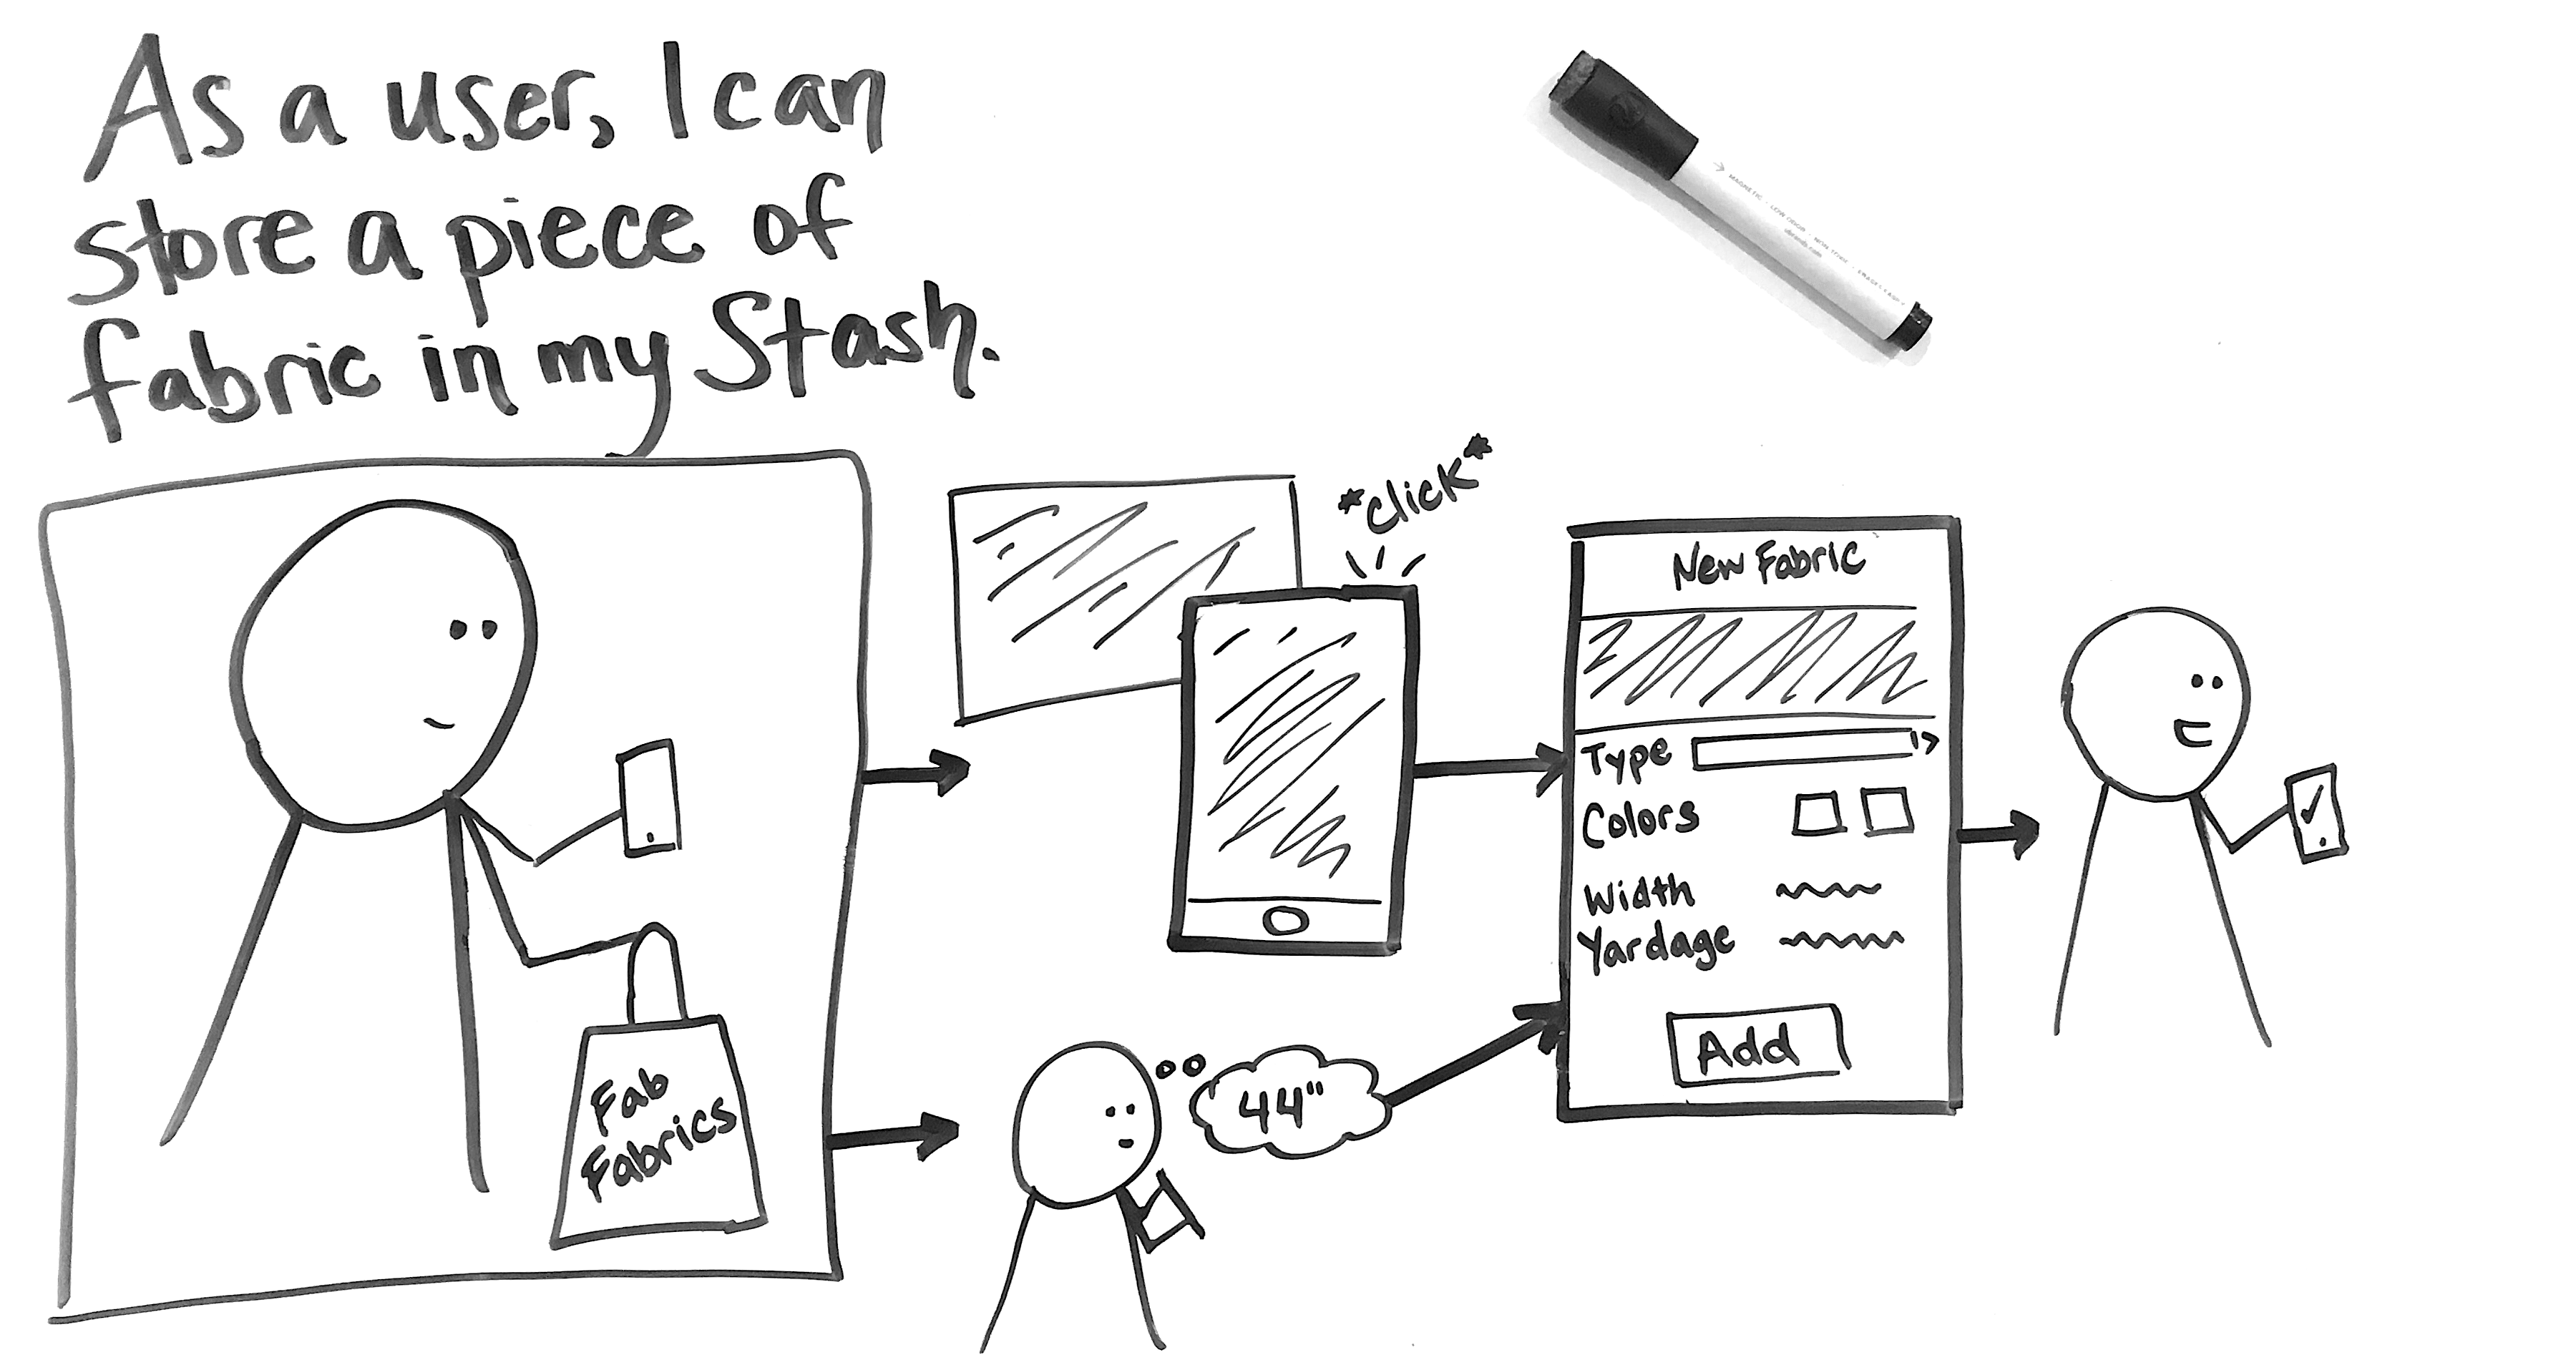
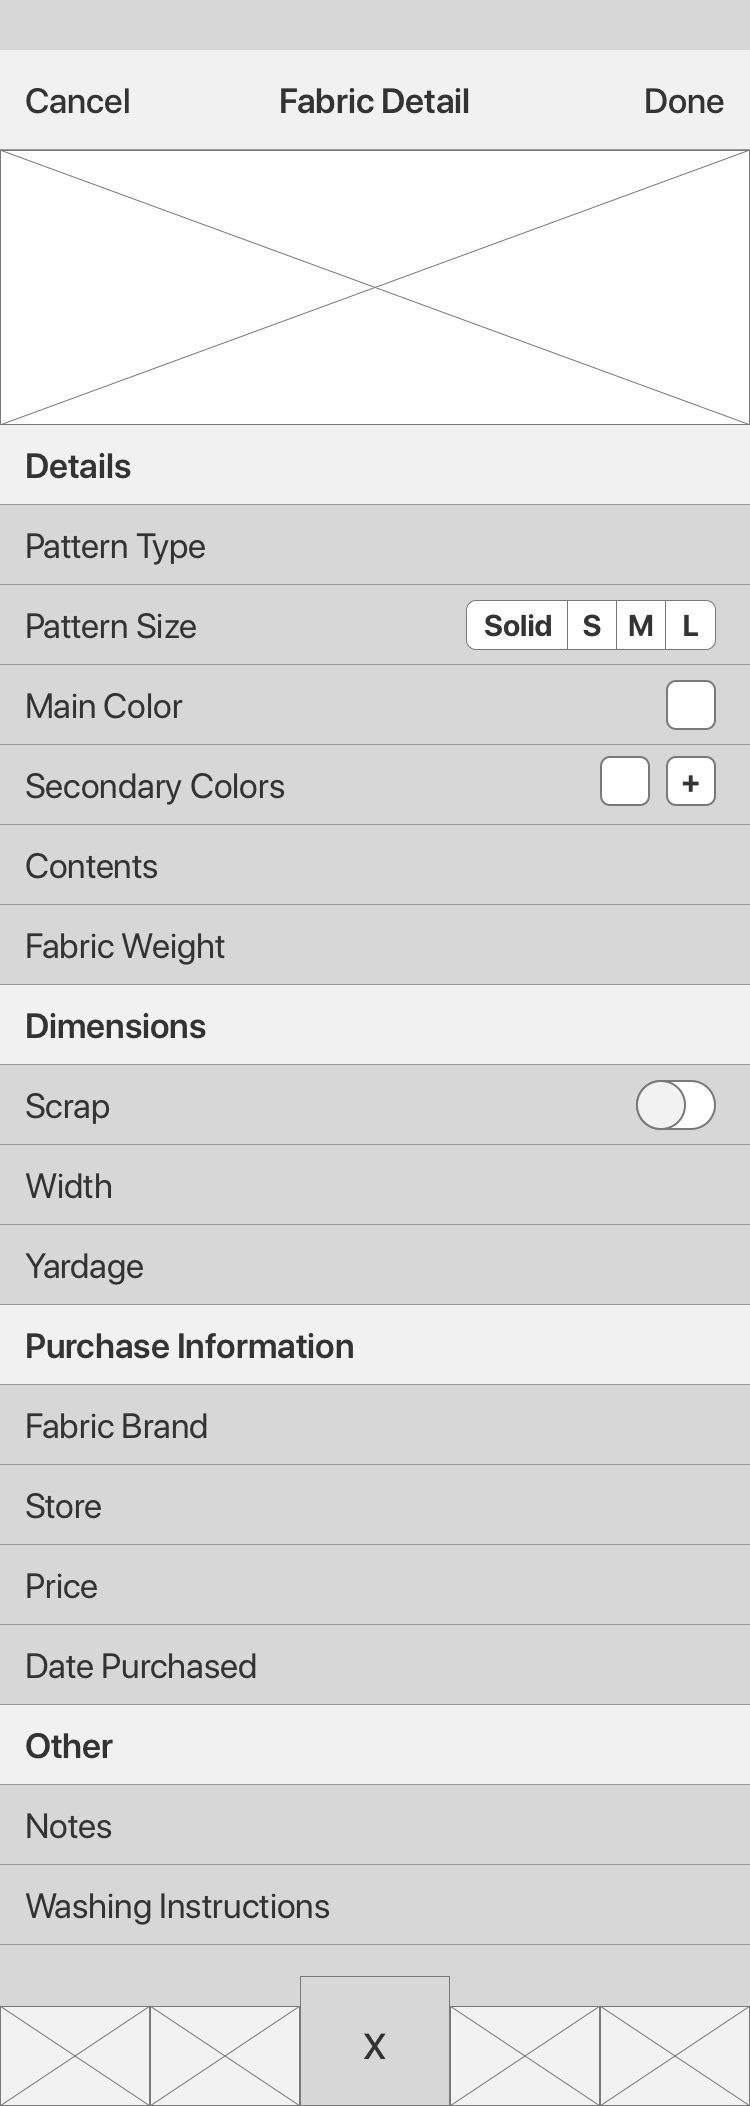
Store a piece of fabric in my Stash.
- User clicks on Add button.
- User selects Fabric.
- User clicks on Photo.
- User selects between Take Photo and Choose Existing.
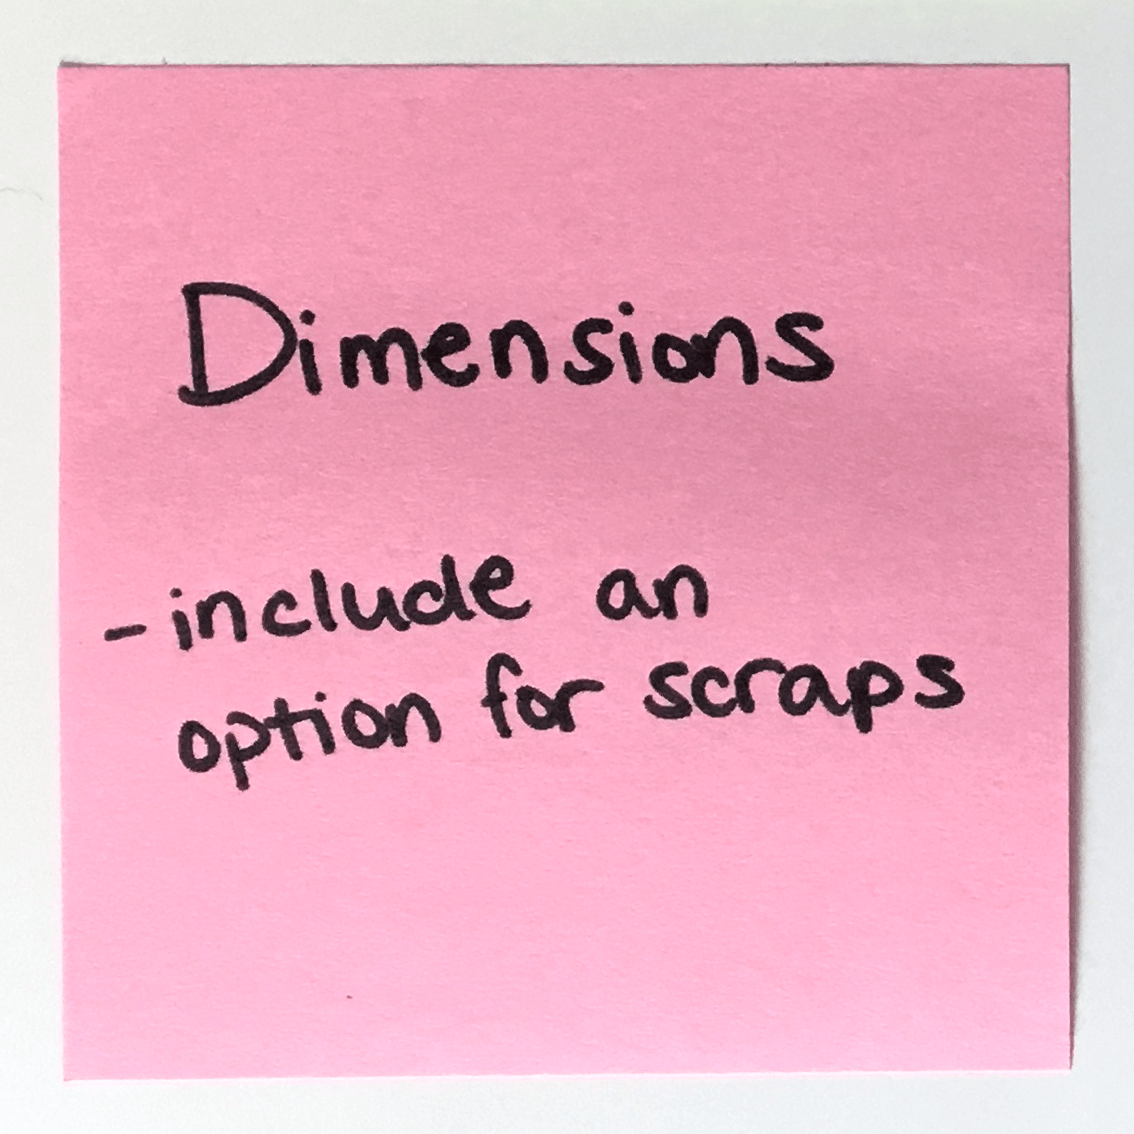
- User fills out the following fields:
- Name
- Pattern Size
- Pattern Type
- Main Color
- Secondary Colors
- Dimensions
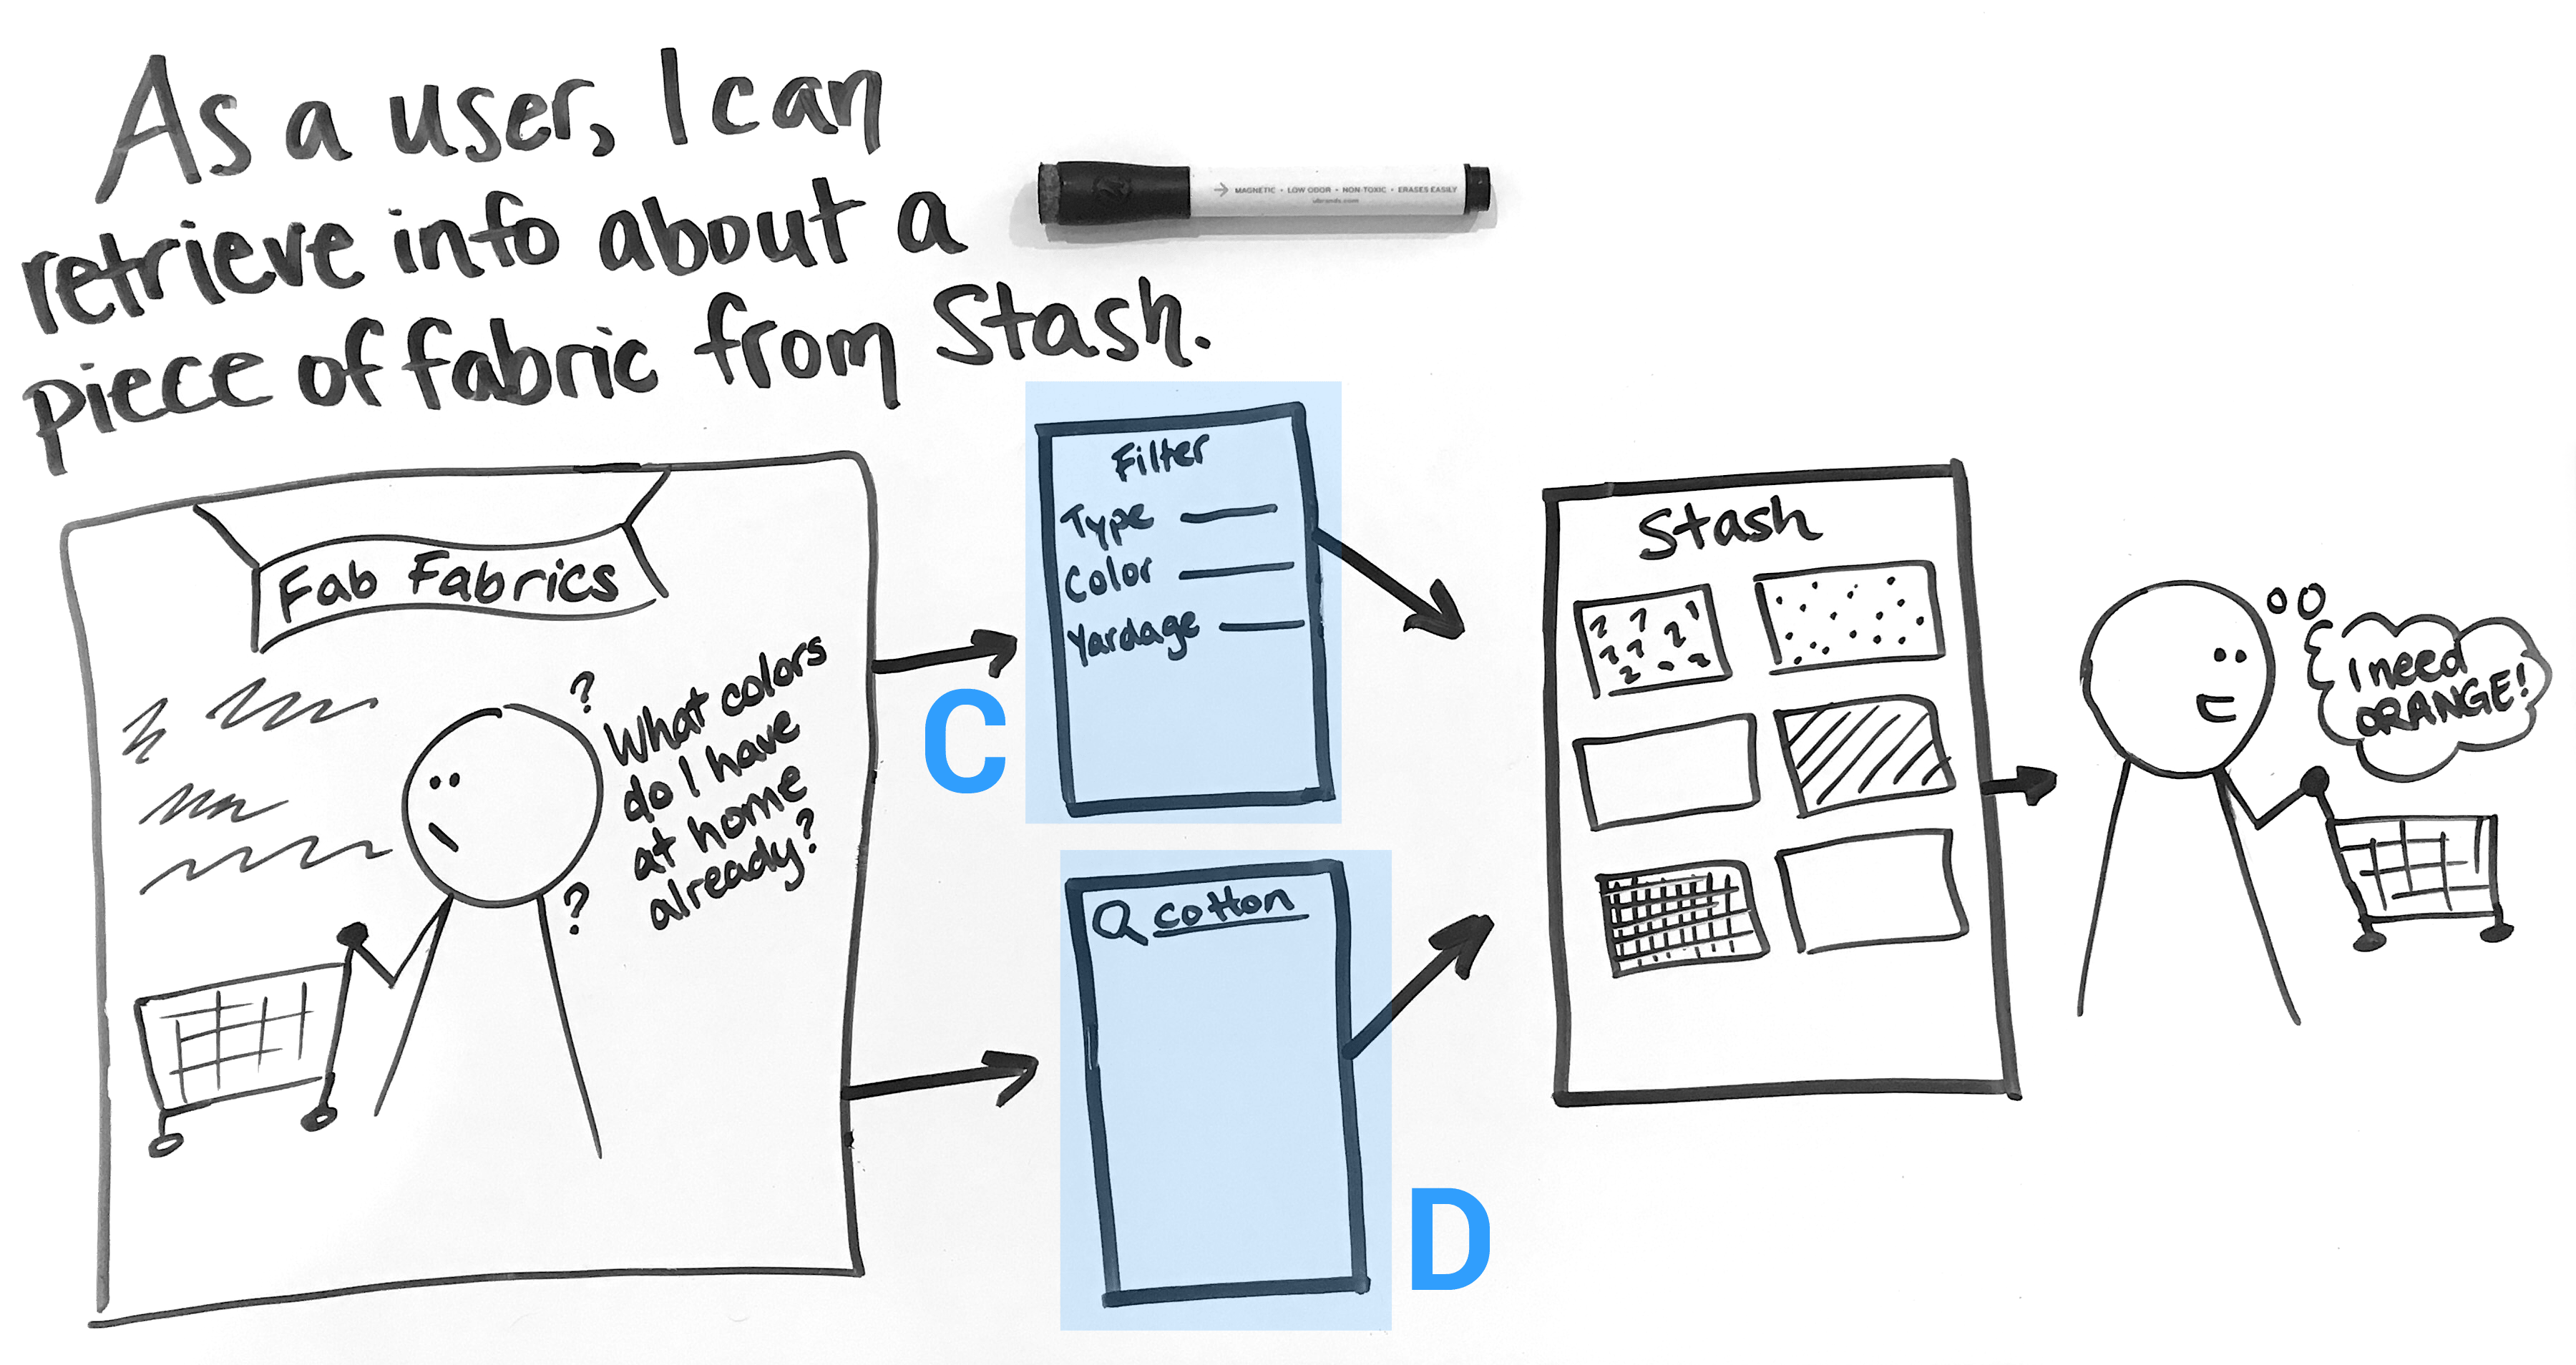
As a user, I can...
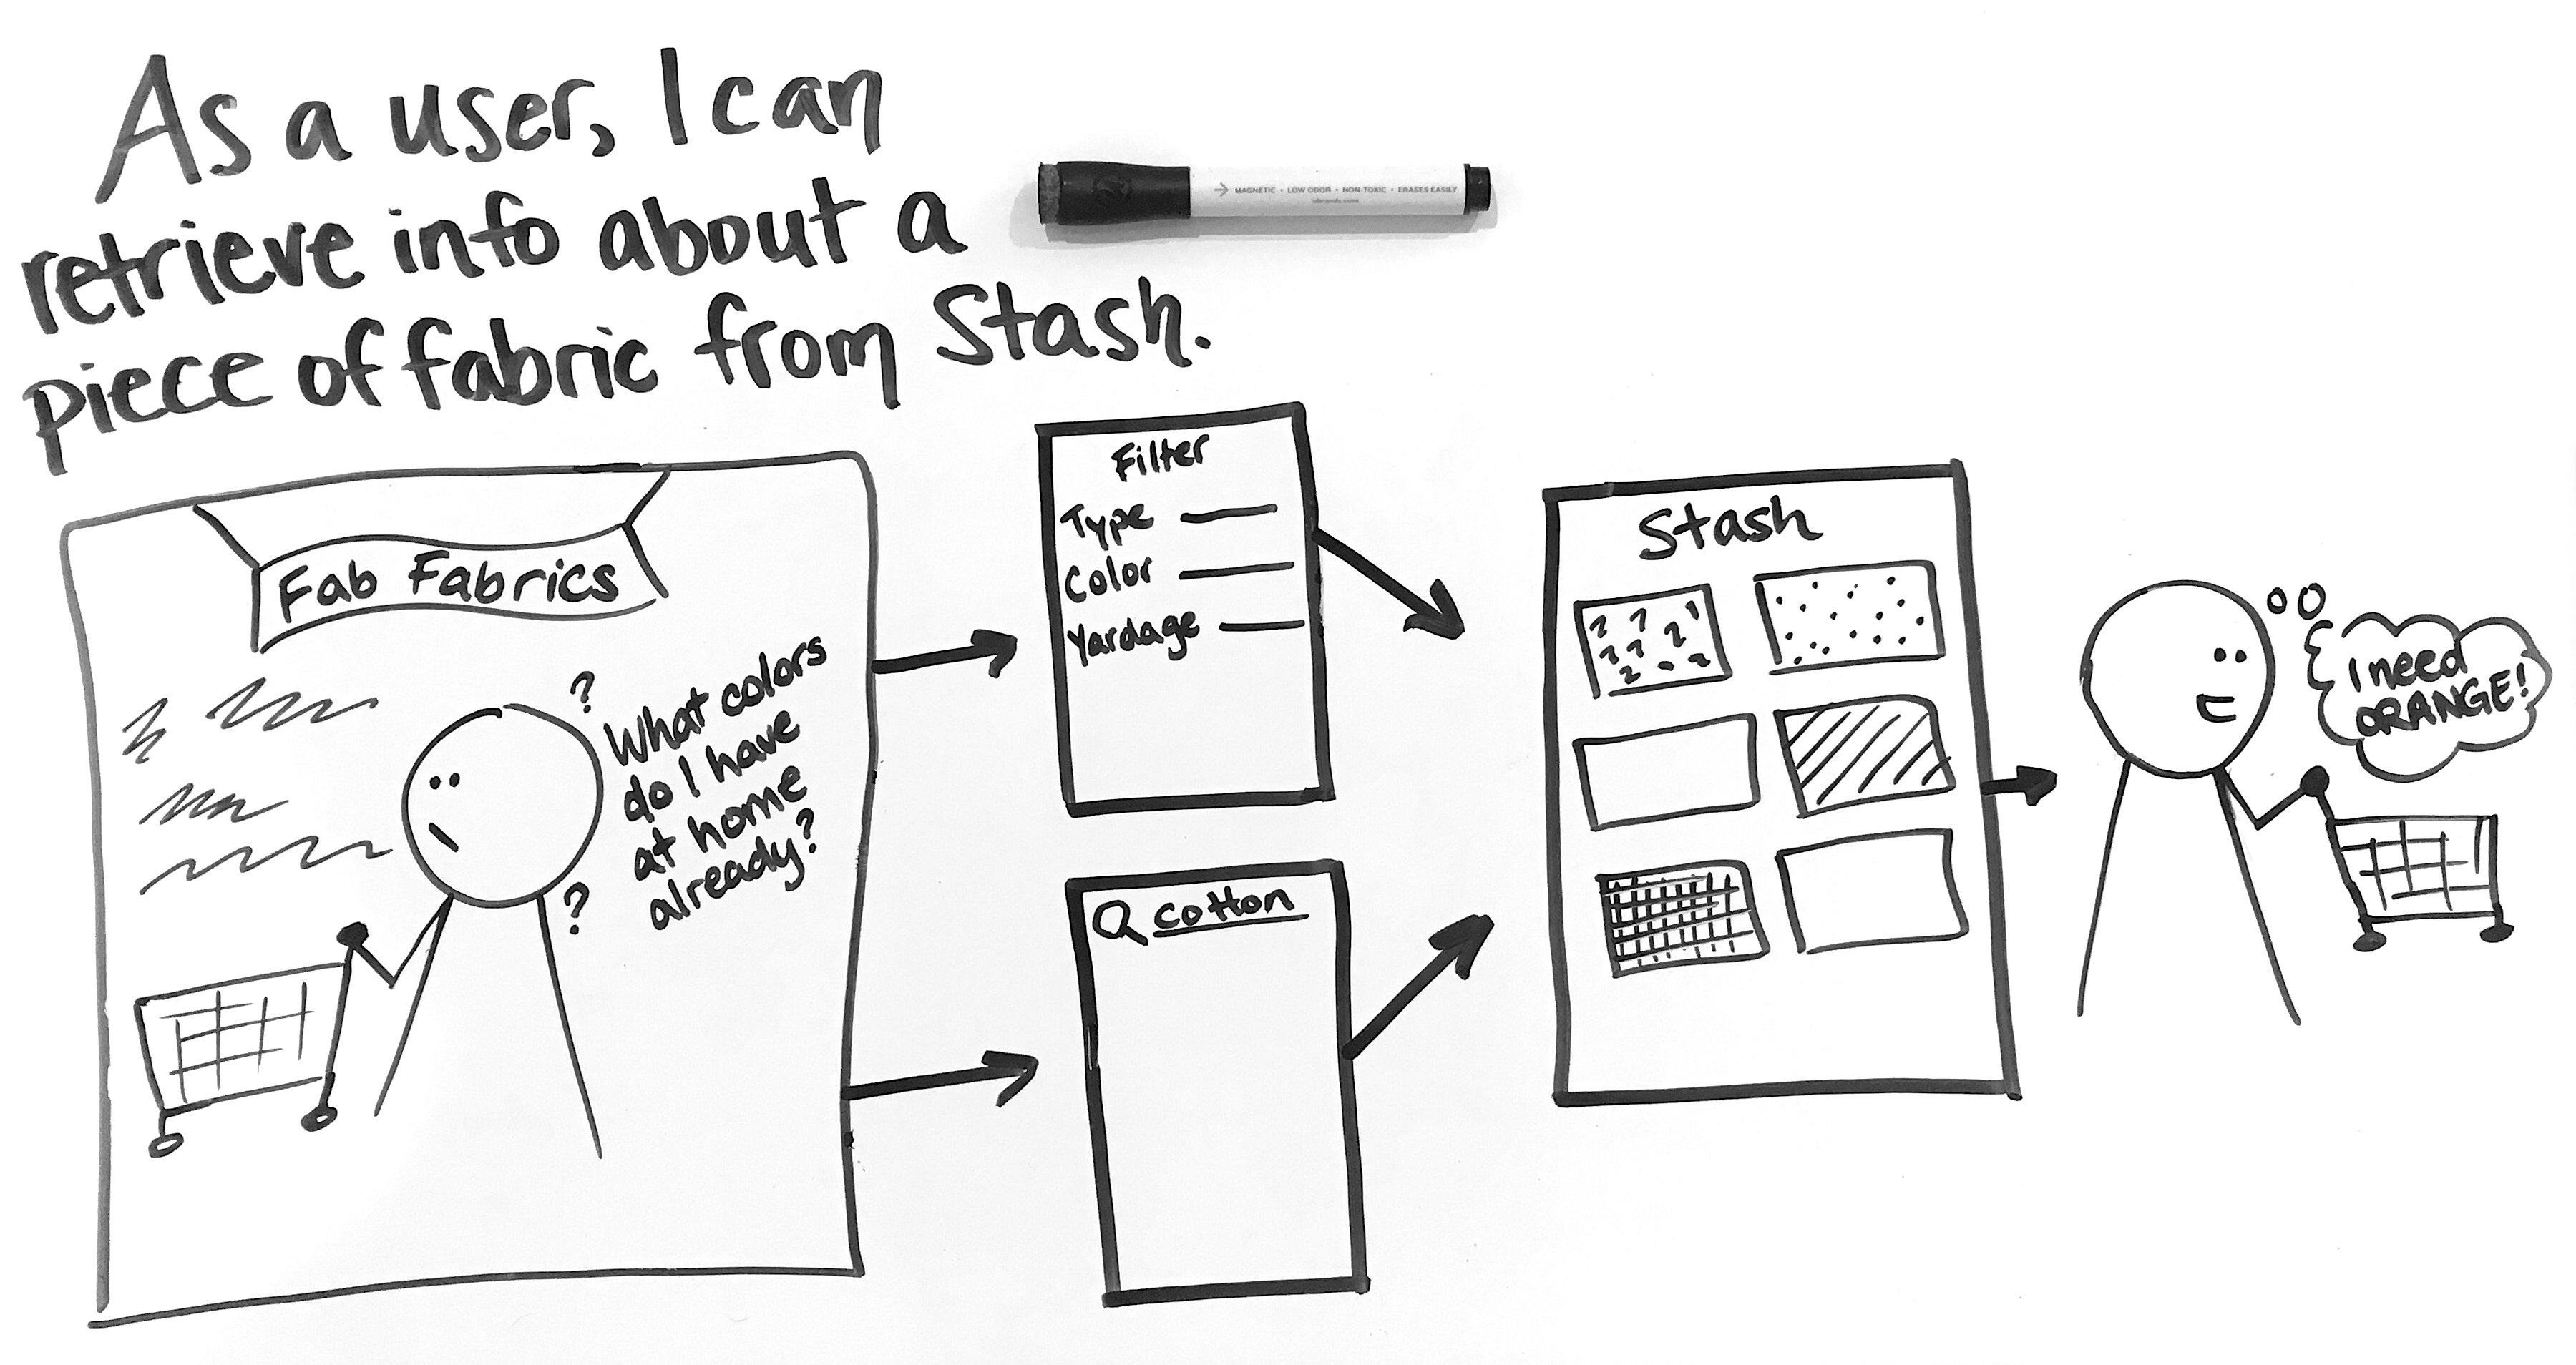
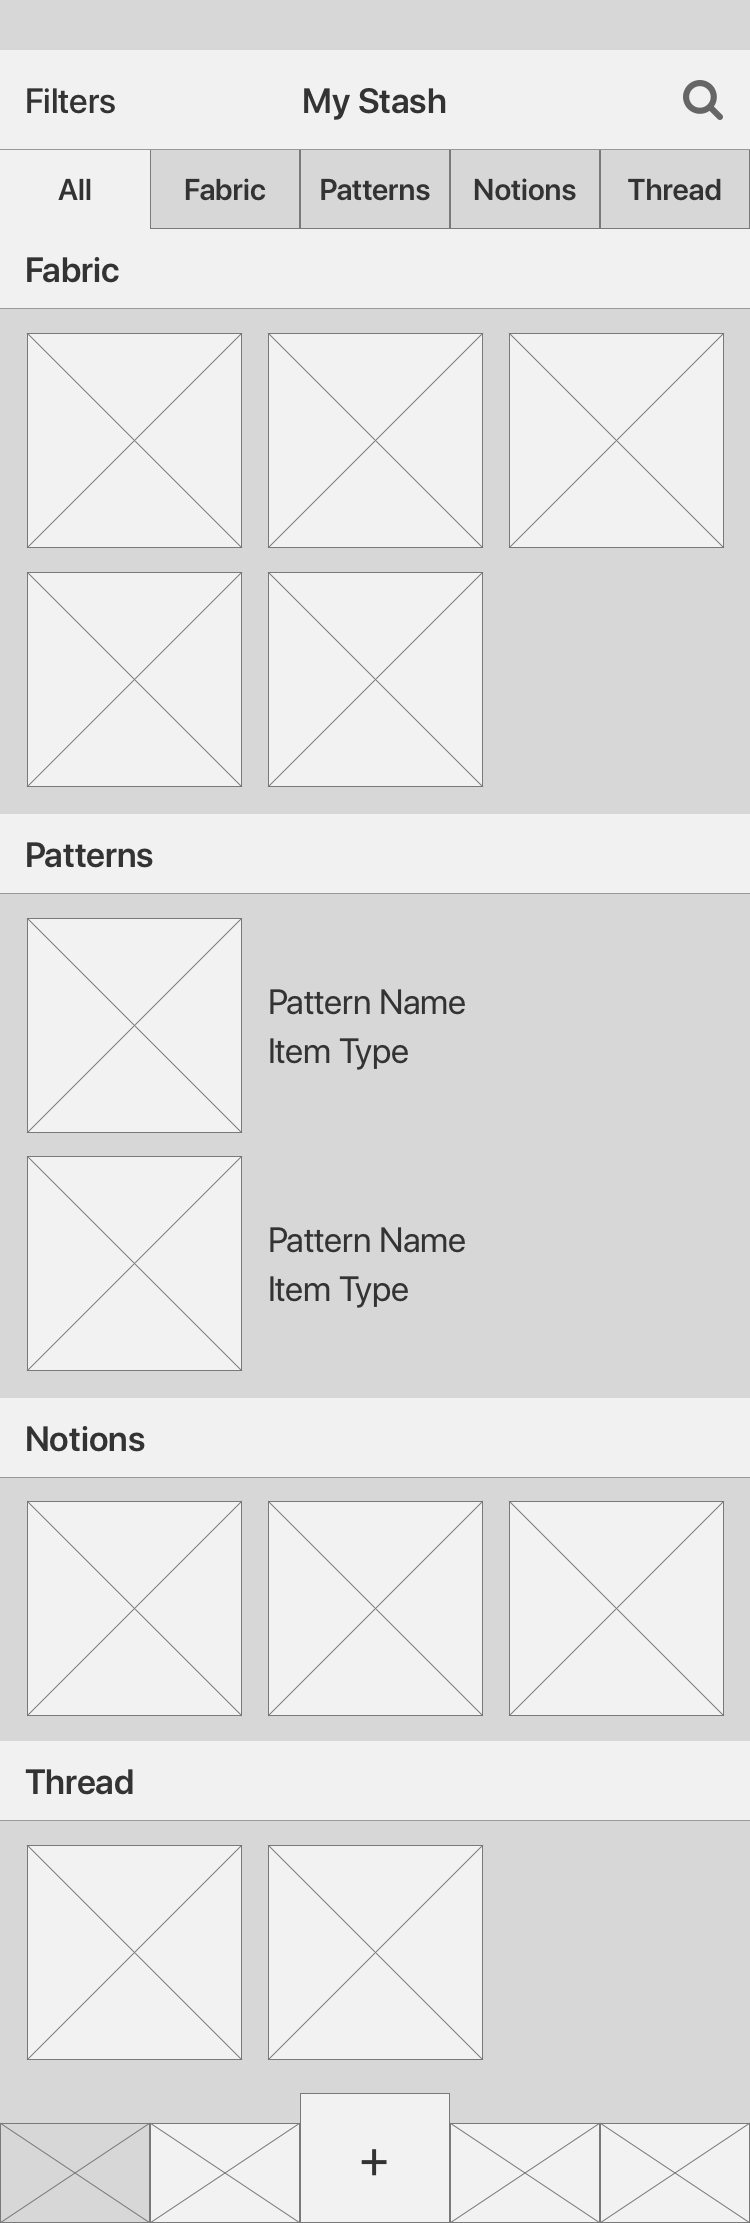
Retrieve info about a piece of fabric from Stash.
- User clicks on Stash button.
- User selects Filters and chooses applicable filters.
- User selects Search and enters keywords.
- User selects desired entry from the results.
- User is presented with the info page for the desired fabric.
Day 02 • Diverge
Today's Goal:
Create as many ideas as possible. As GV's Jake Knapp put it, "illuminate all the paths."
Today's Steps:
- Choose part of the problem.
- Make mind maps surrounding the divided problem.
- Complete a "Crazy Eights" exercise to rapidly explore many problem-solving options.
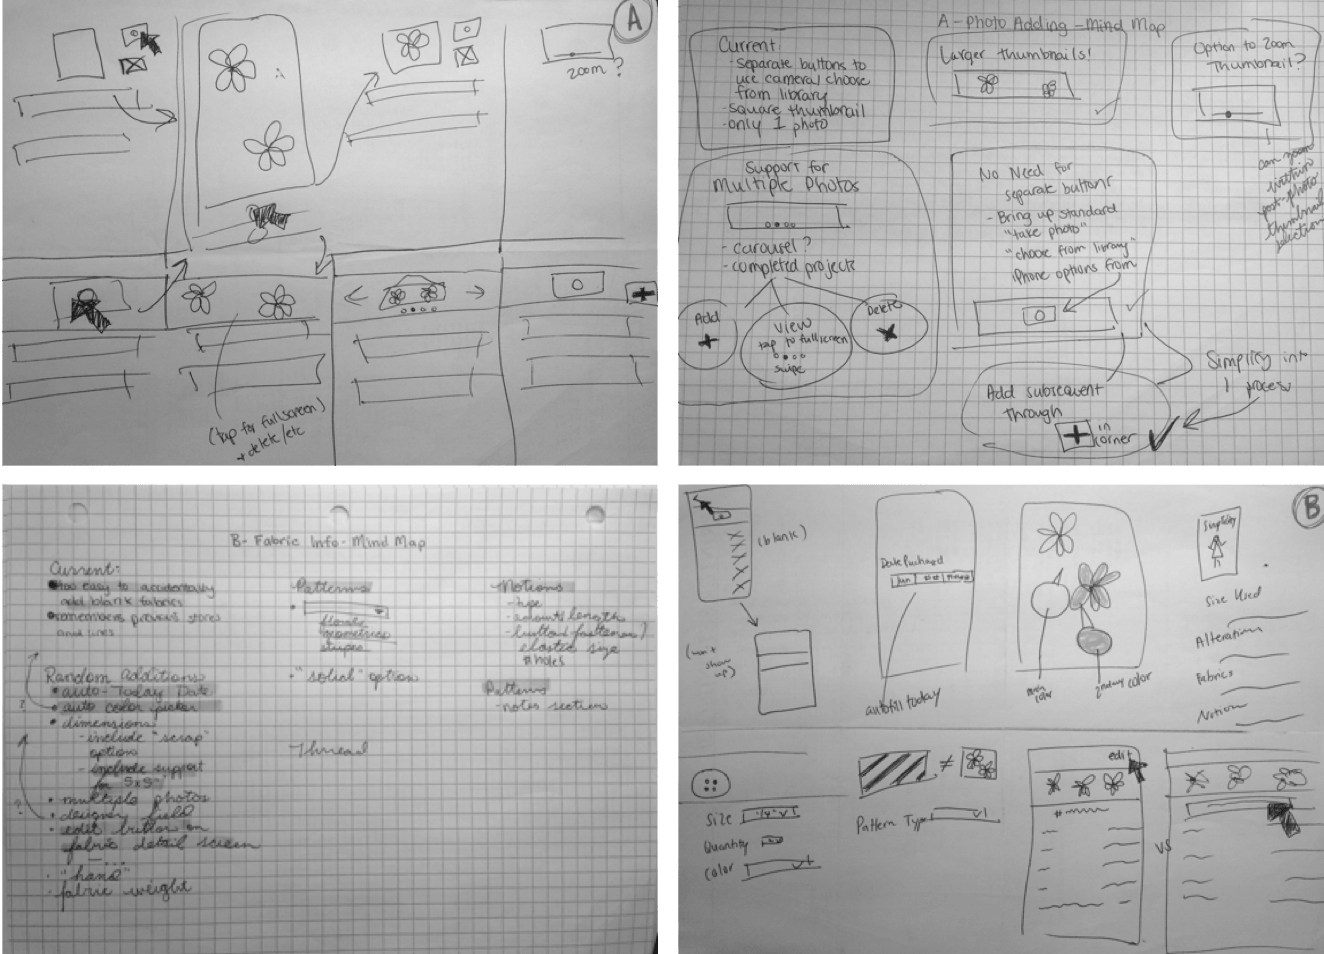
Step 1 — Choose Part of the Problem
I chose to divide my two user stories from Day 1 into four parts, shown in blue in figure 2.01 and figure 2.02, below:
A. Adding a photo of a fabric
B. Entering fabric information
C. Finding a fabric using filters
D. Finding a fabric using search
Steps 2 and 3 — Mind Maps & Crazy 8's
For each of my four sub-problems, I made a mind map and eight quick, 60-second sketches (figure 2.02). Together, these two activities generated a lot of ideas, not all of them good.
Day 03 • Decide
Today's Goal:
After yesterday's flood of ideas, use Day 3 to decide which ideas to follow through with, test, and implement.
Today's Steps:
- Categorize ideas from the Mind Maps and Crazy 8's created on Day 2.
- Build an affinity diagram and use it to separate ideas.
- Use paper prototypes when a conflict arises between two ideas.
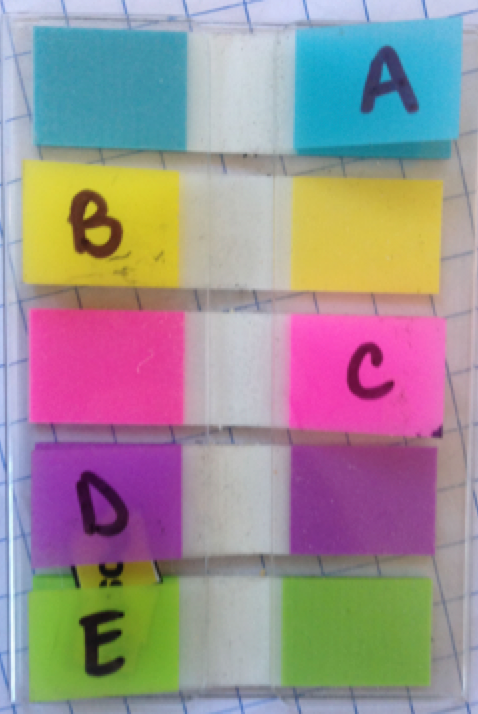
Step 1 — Categorize Ideas
Using Post-it notes and tabs, I transferred ideas from yesterday's Crazy 8's and Mind Maps (figure 3.01). I also used this step to identify conflicting ideas.
![Post It with writing: '[arrow symbol] does not equal 'rotate' too many misleading icons!'](img/stash/day3-1-post5.png)
Step 2 — Build an Affinity Diagram
In assembling my affinity diagram, I did something that's only feasible during the solo design process; I chose to leave some ideas off the wall, categorizing as I went.
I divided the ideas into the following categories:
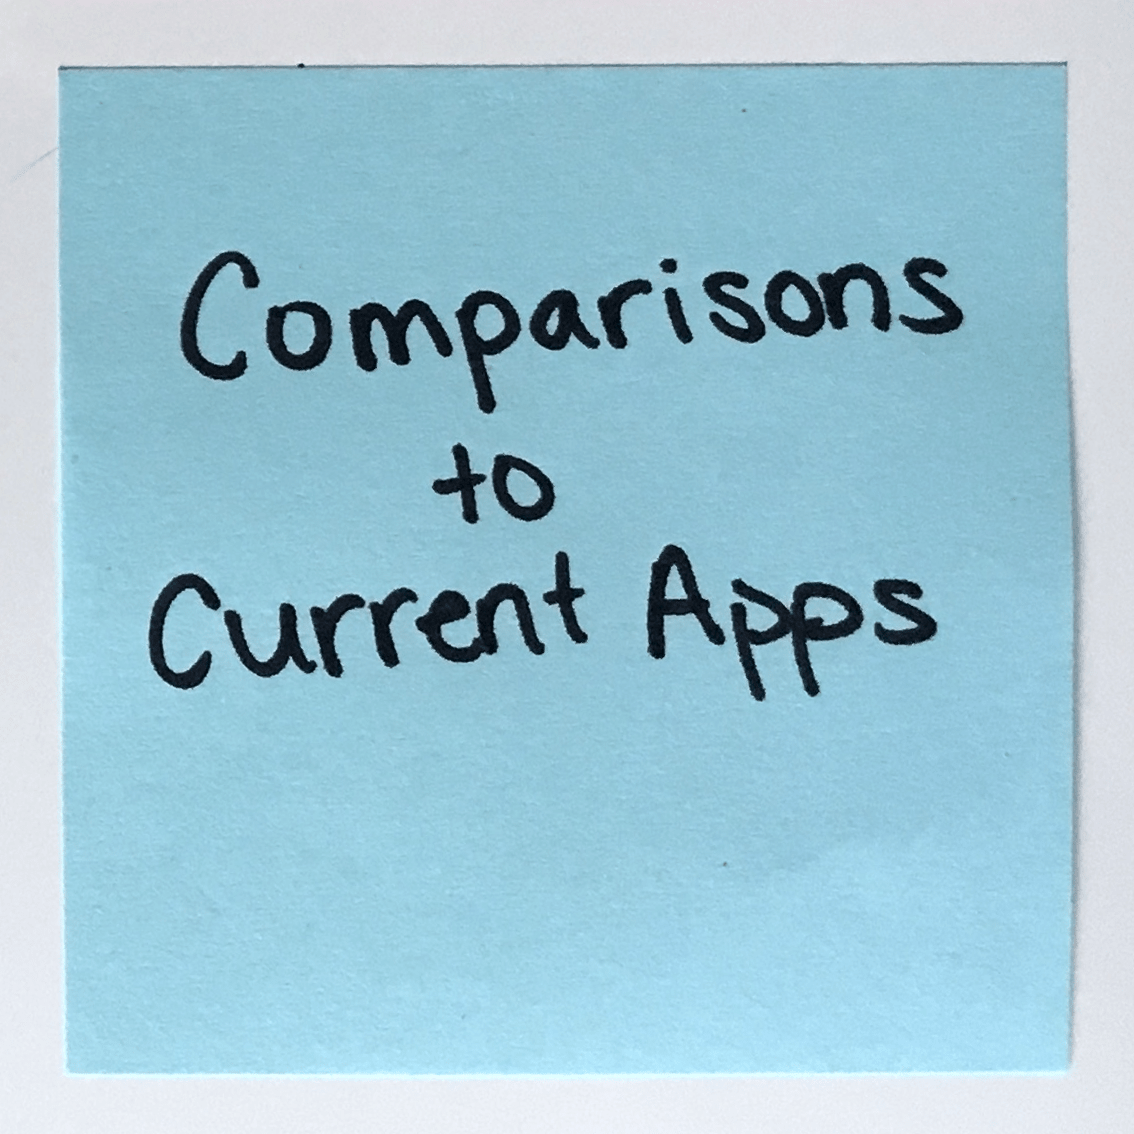
- Comparisons to Existing Apps
- Item Details
- Settings
- Existing Features to Expand Upon
- Brand New Features
Step 3 — Create Paper Prototypes
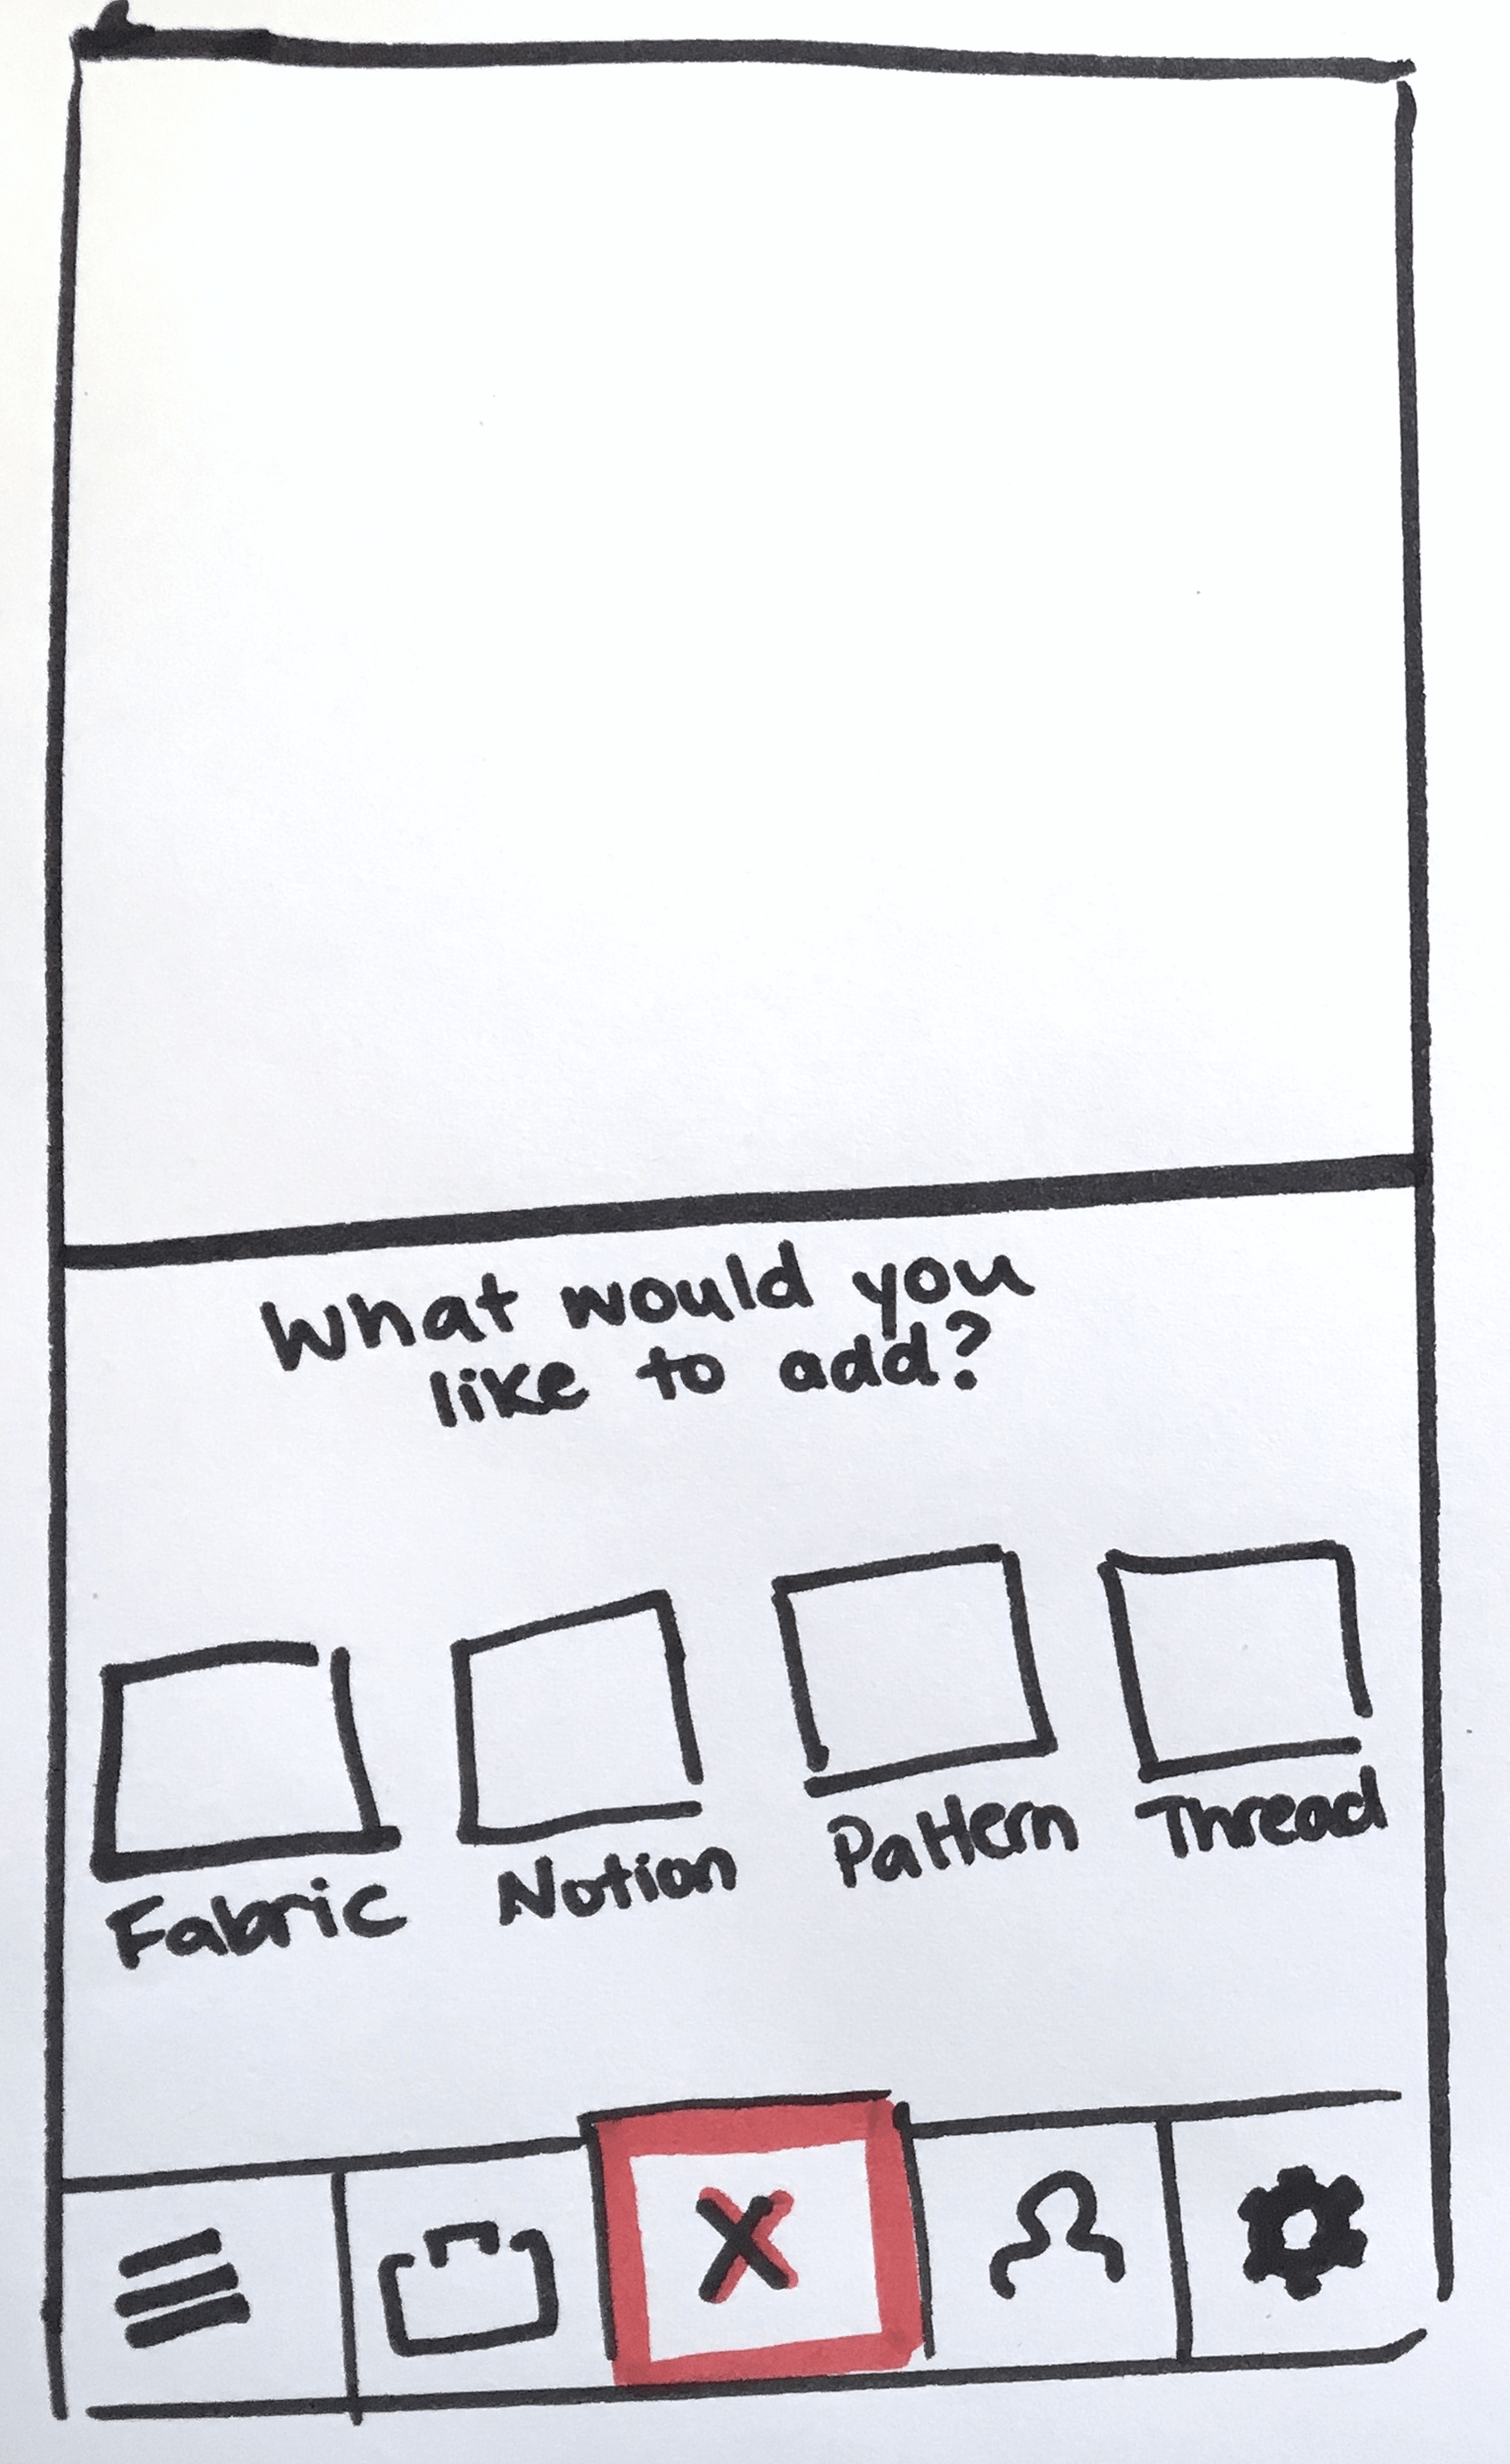
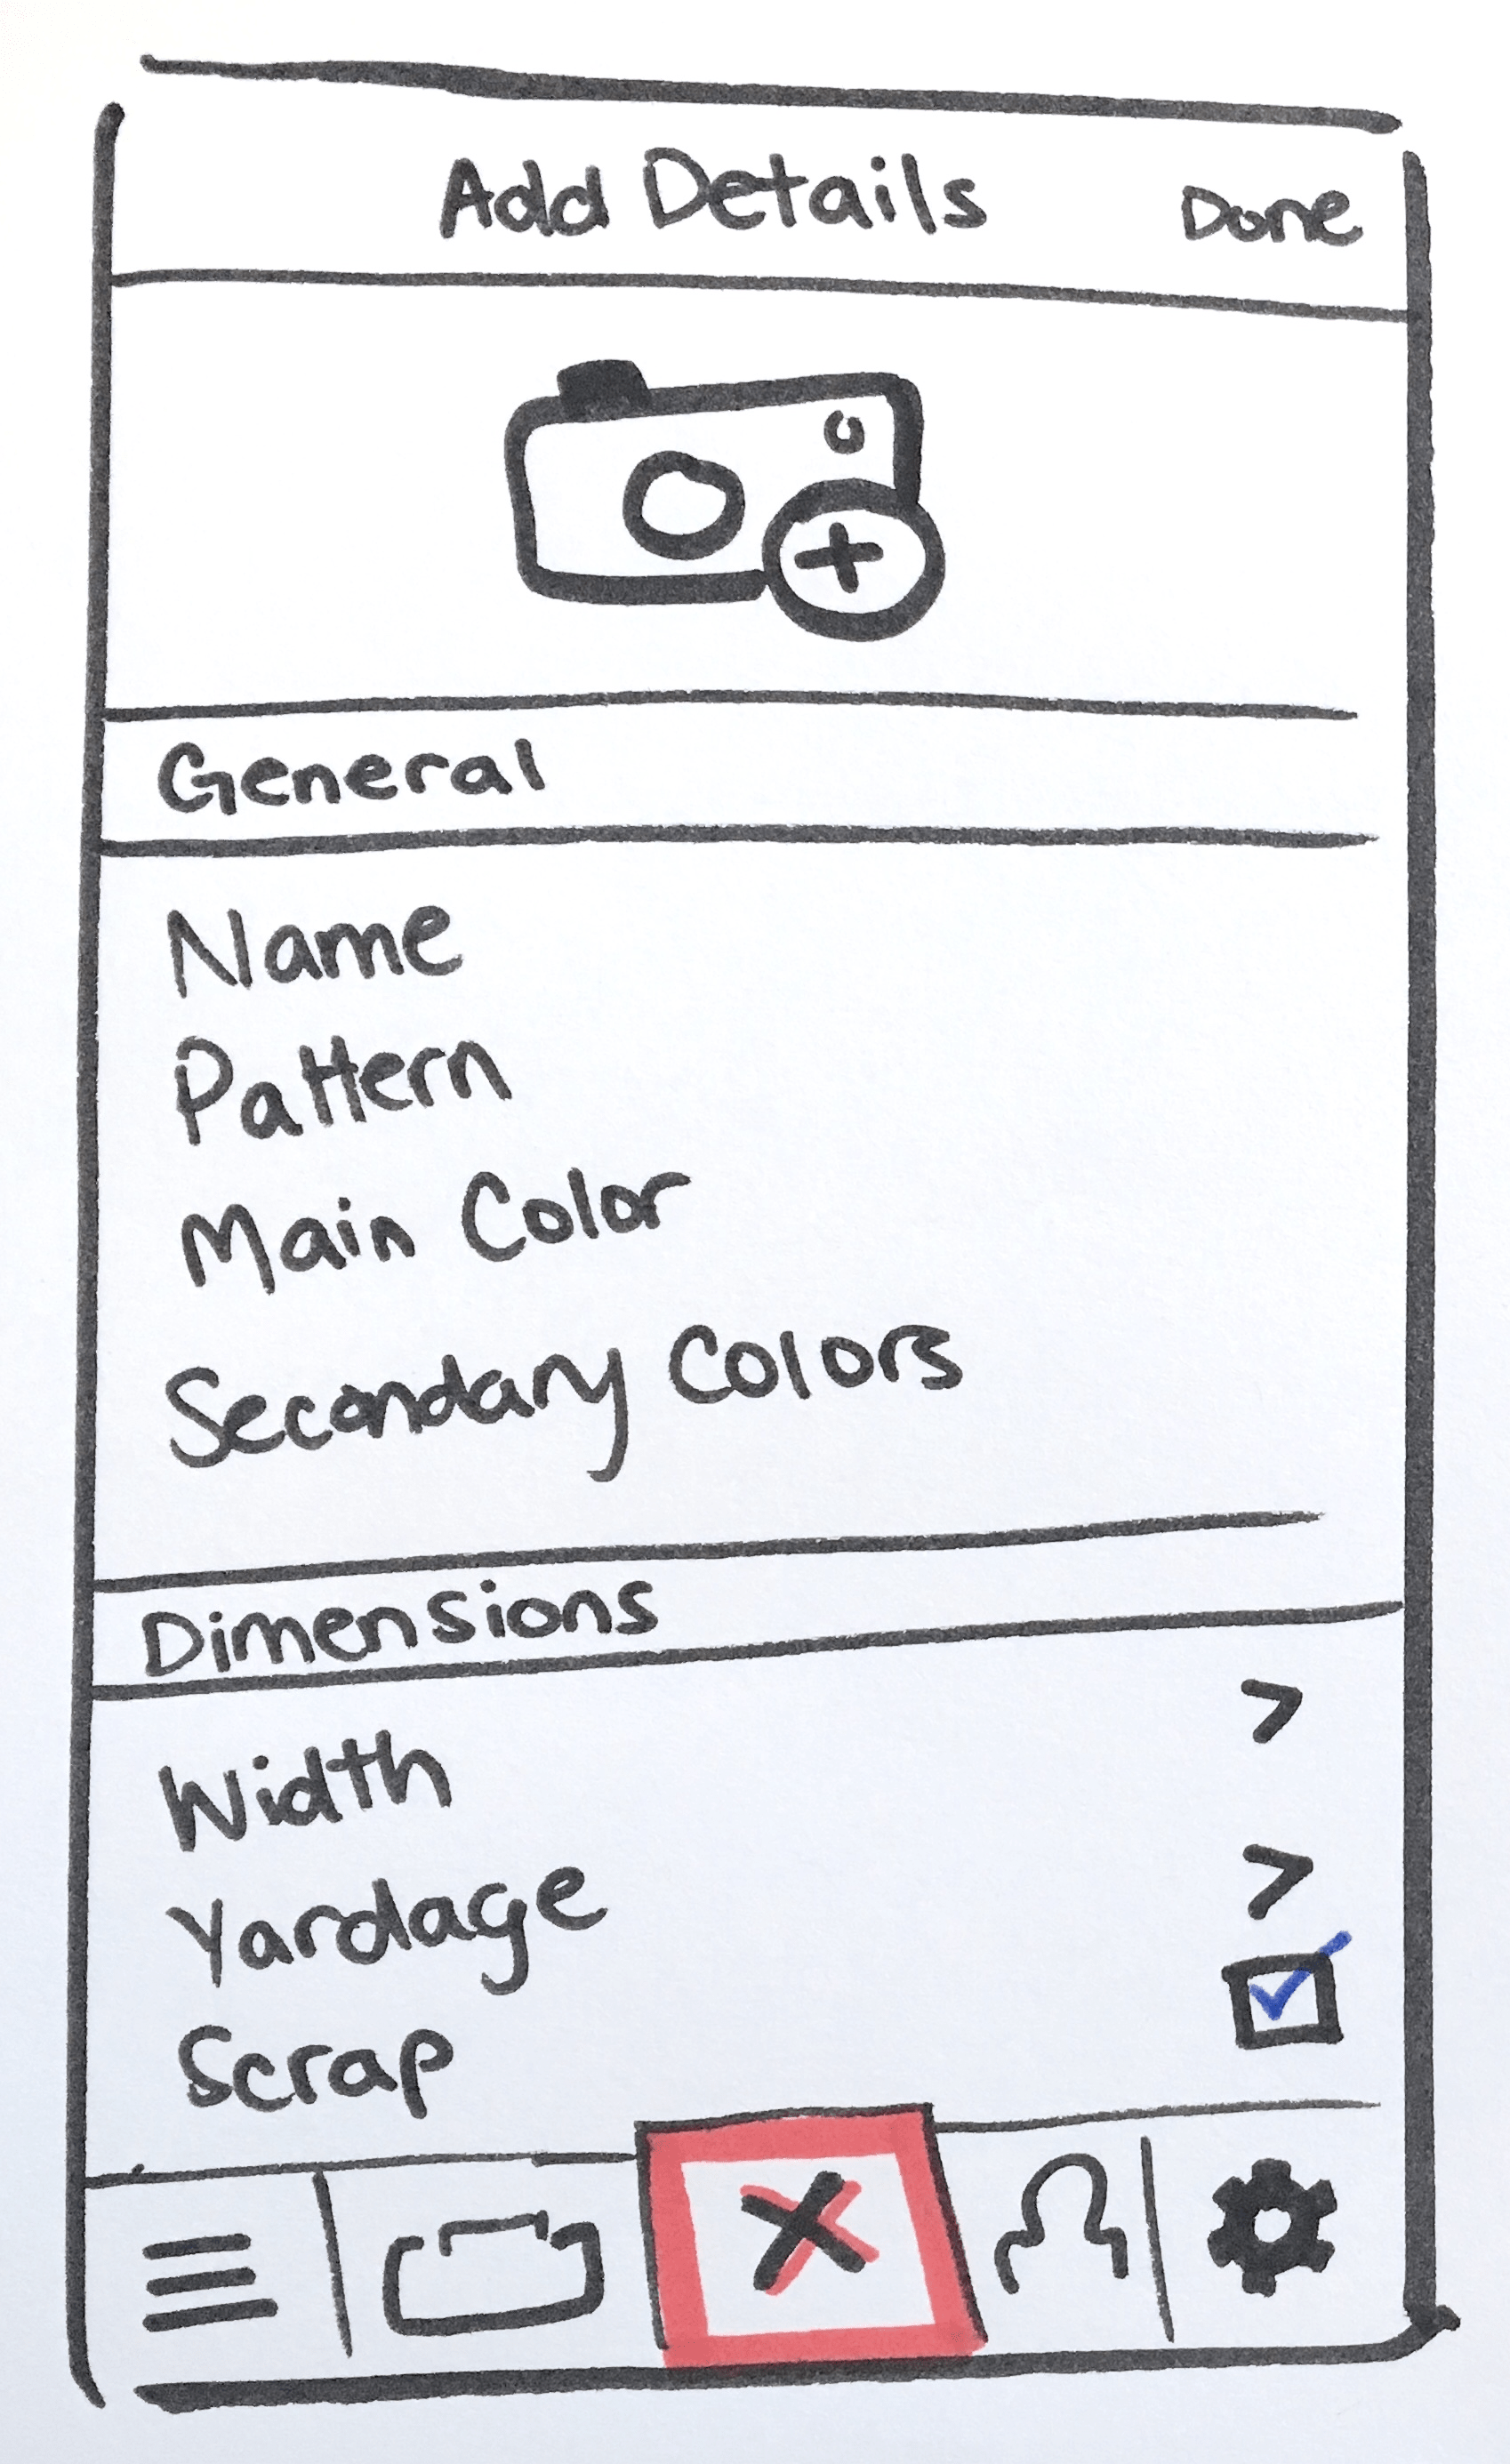
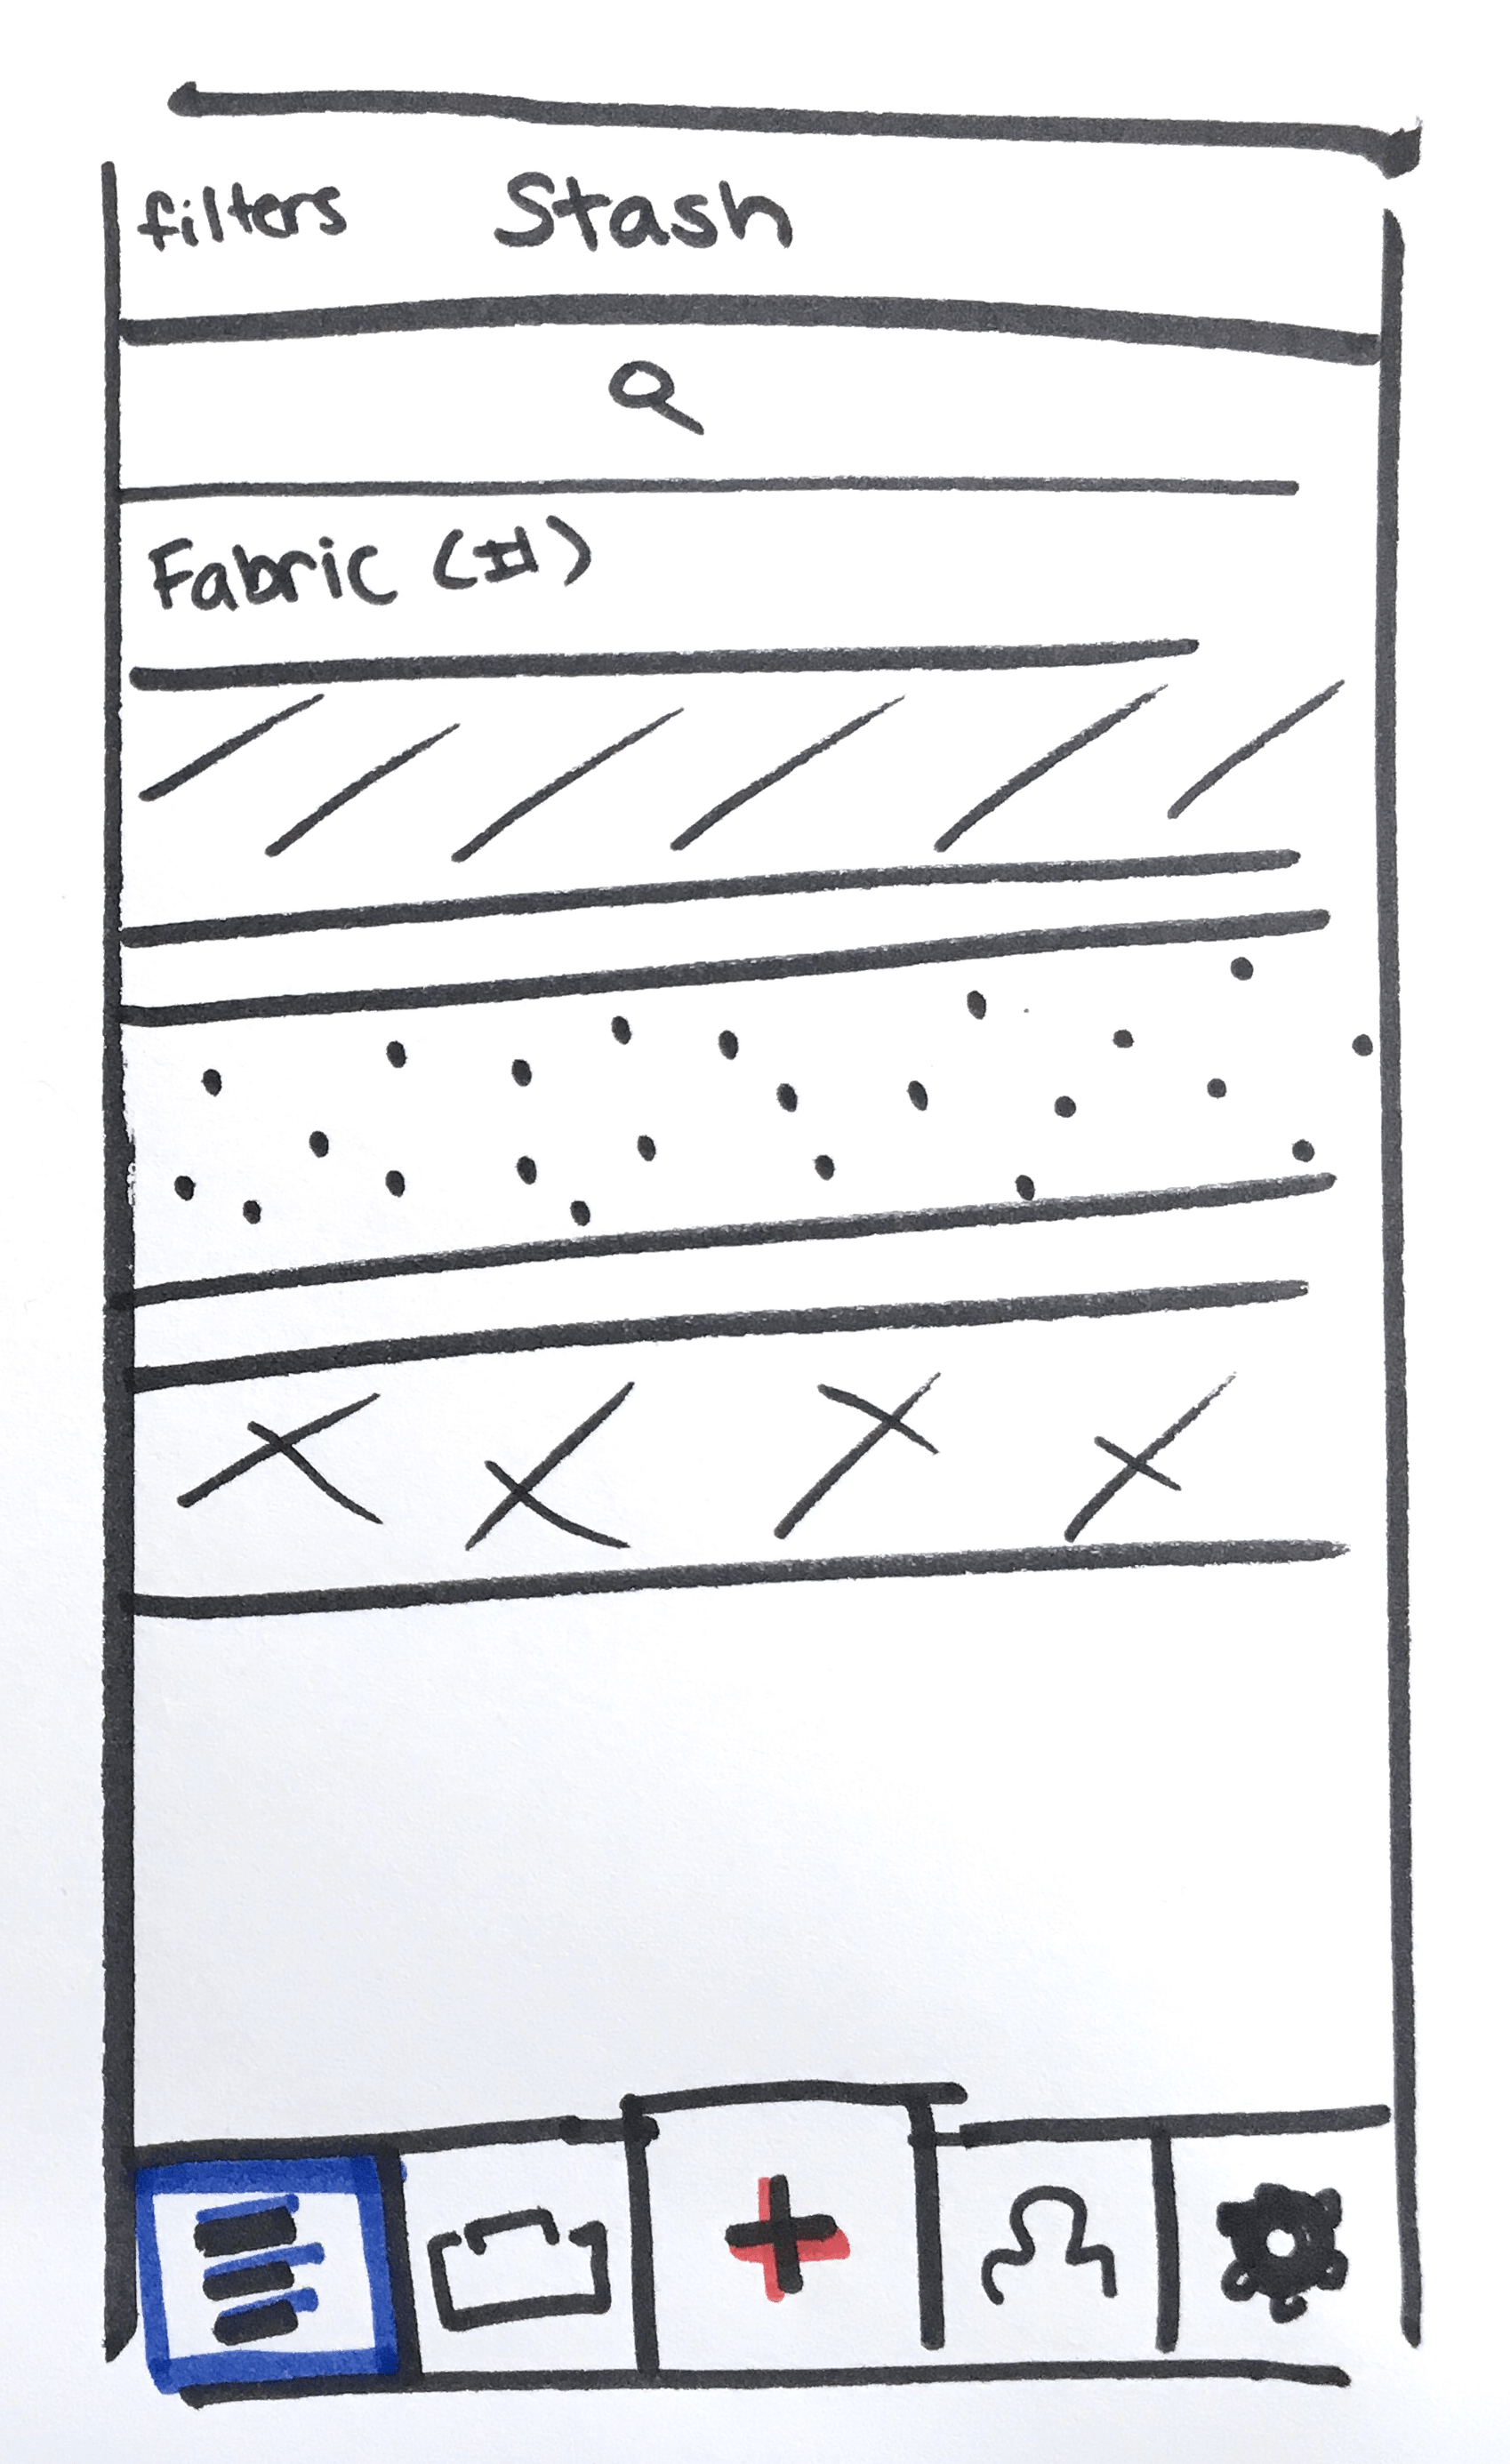
Working from ideas that were categorized in affinity diagraming, I made paper prototypes (figure 3.02) covering the user tasks from Day 1's User Stories and used them to choose between solutions.
Day 04 • Prototype
Today's Goal:
Create more polished prototypes using Day 3's ideas and paper prototypes.
Today's Steps:
- Develop wireframes using selected paper prototypes from Day 3.
- Use Photoshop to design high-fidelity UI mockups, and use Axure to develop interactive prototypes.
Step 1 — Wireframing
Using the solutions selected during Day 3's paper prototyping, I created wireframes in Axure:
Step 2 — High-Fidelity and Interactive Prototyping
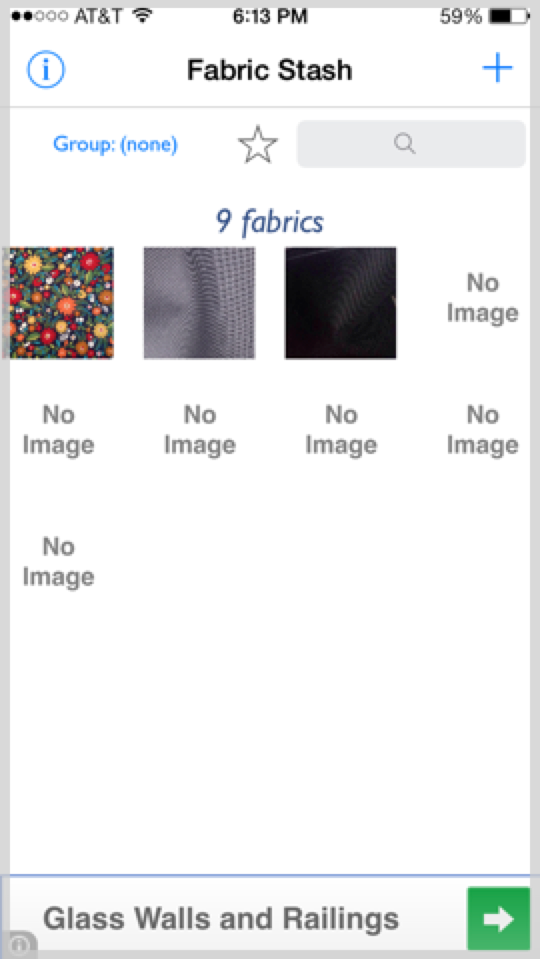
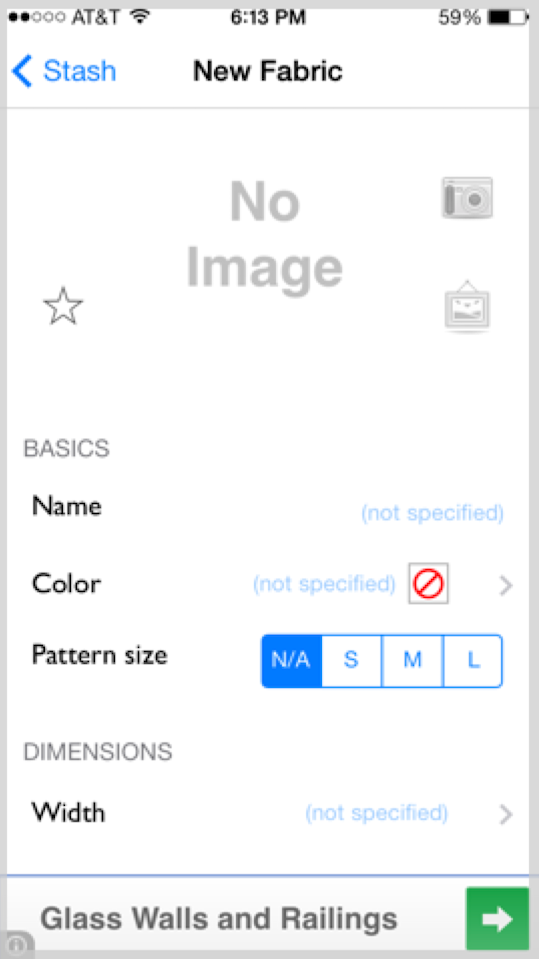
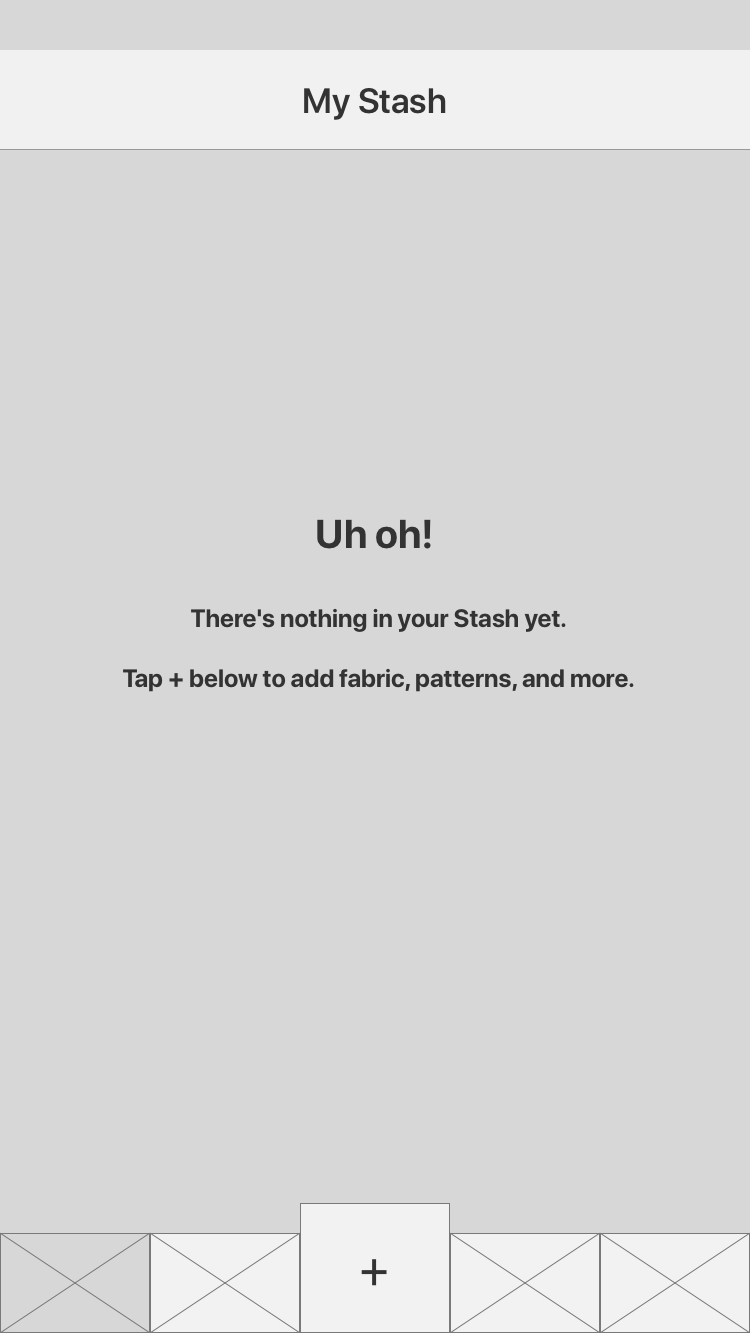
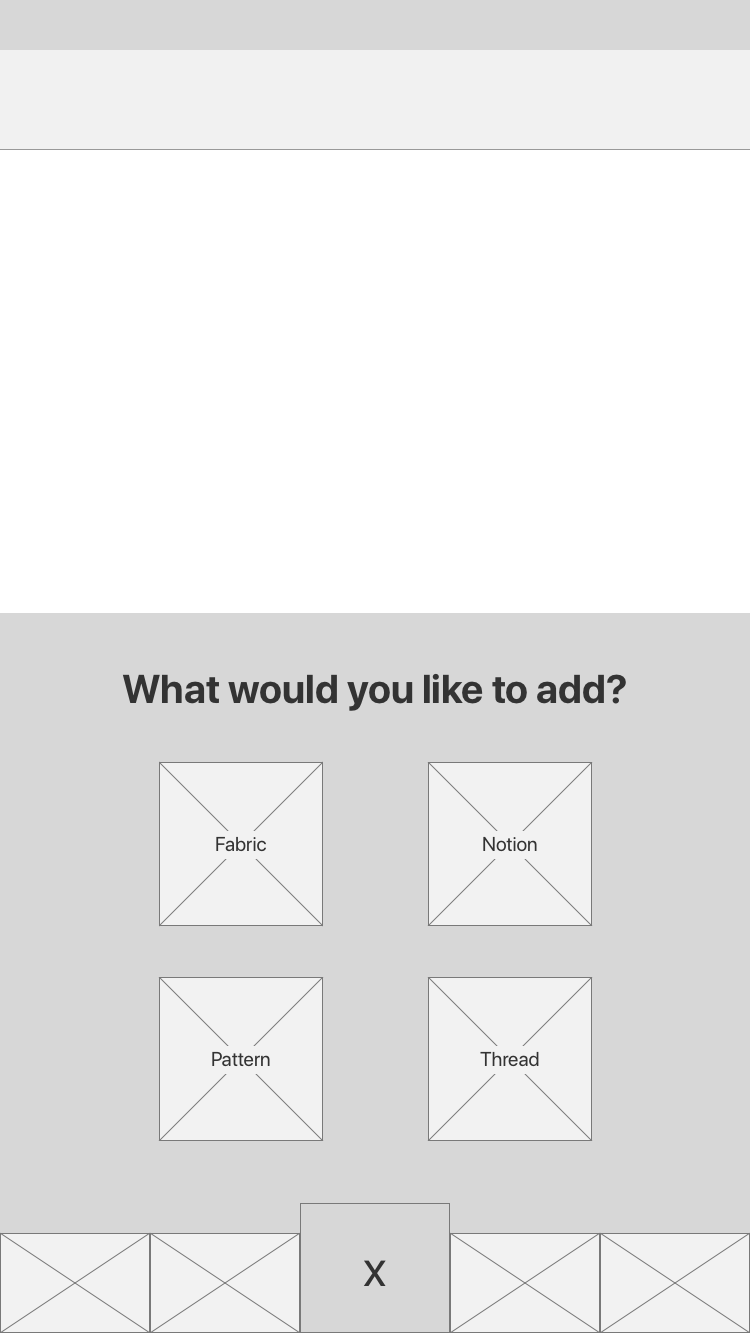
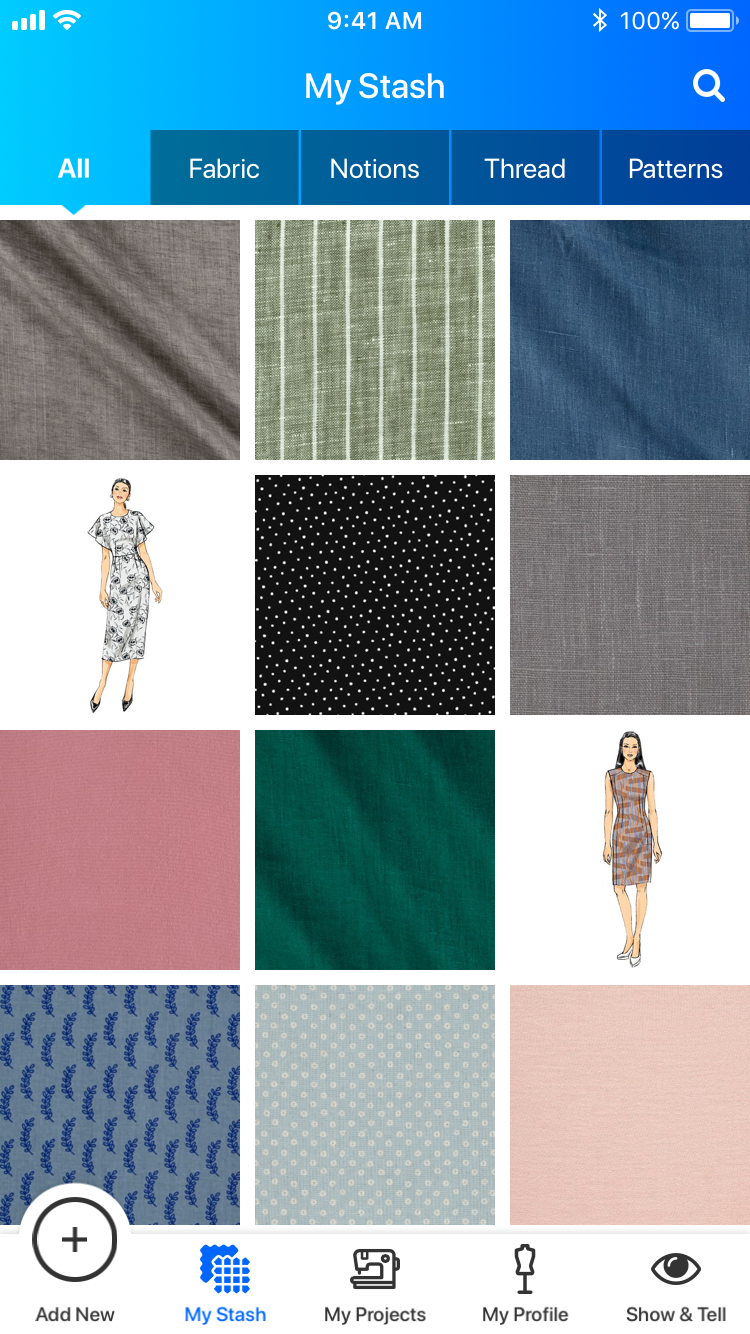
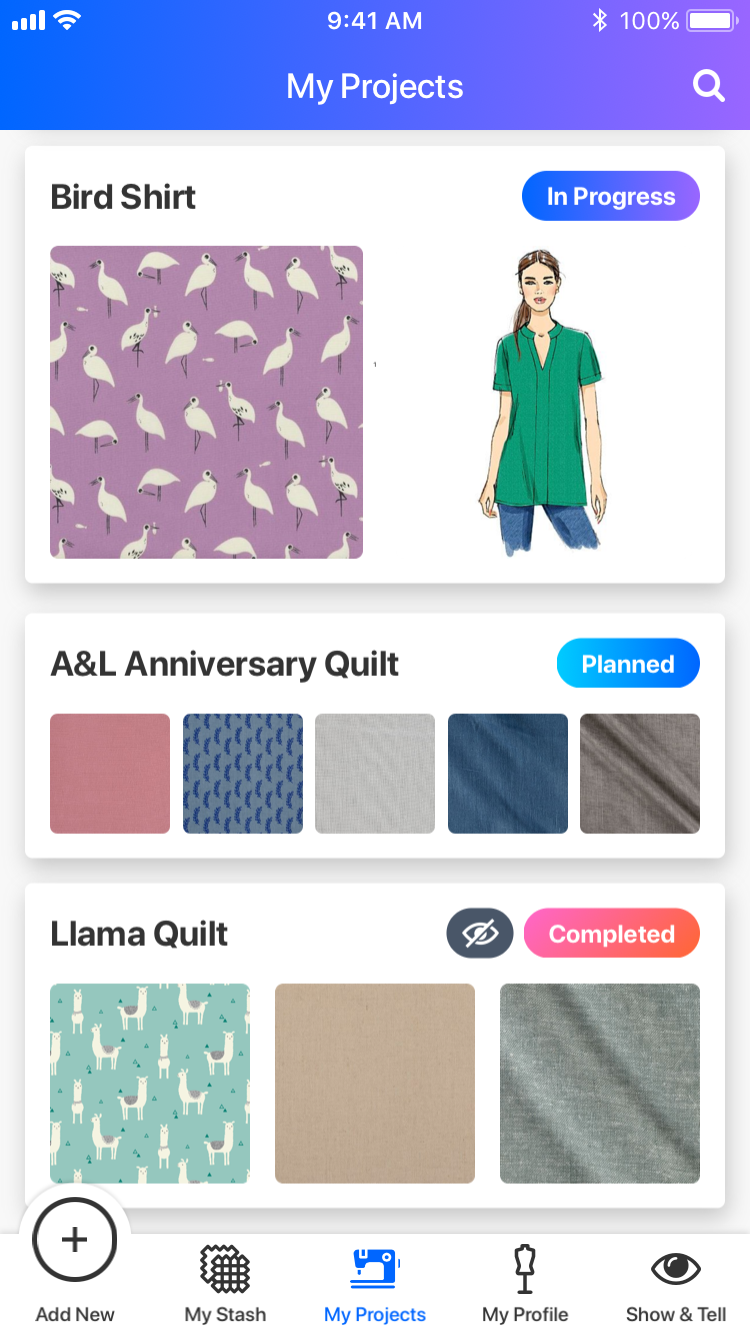
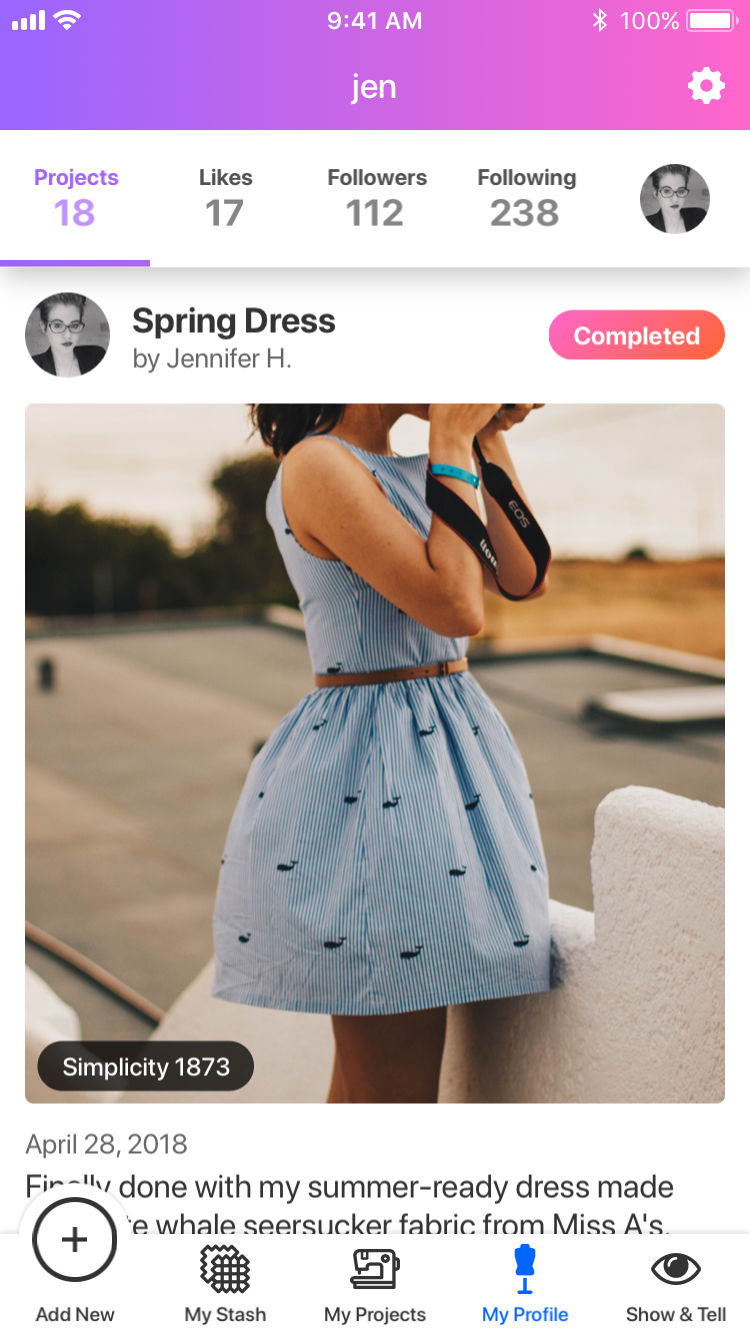
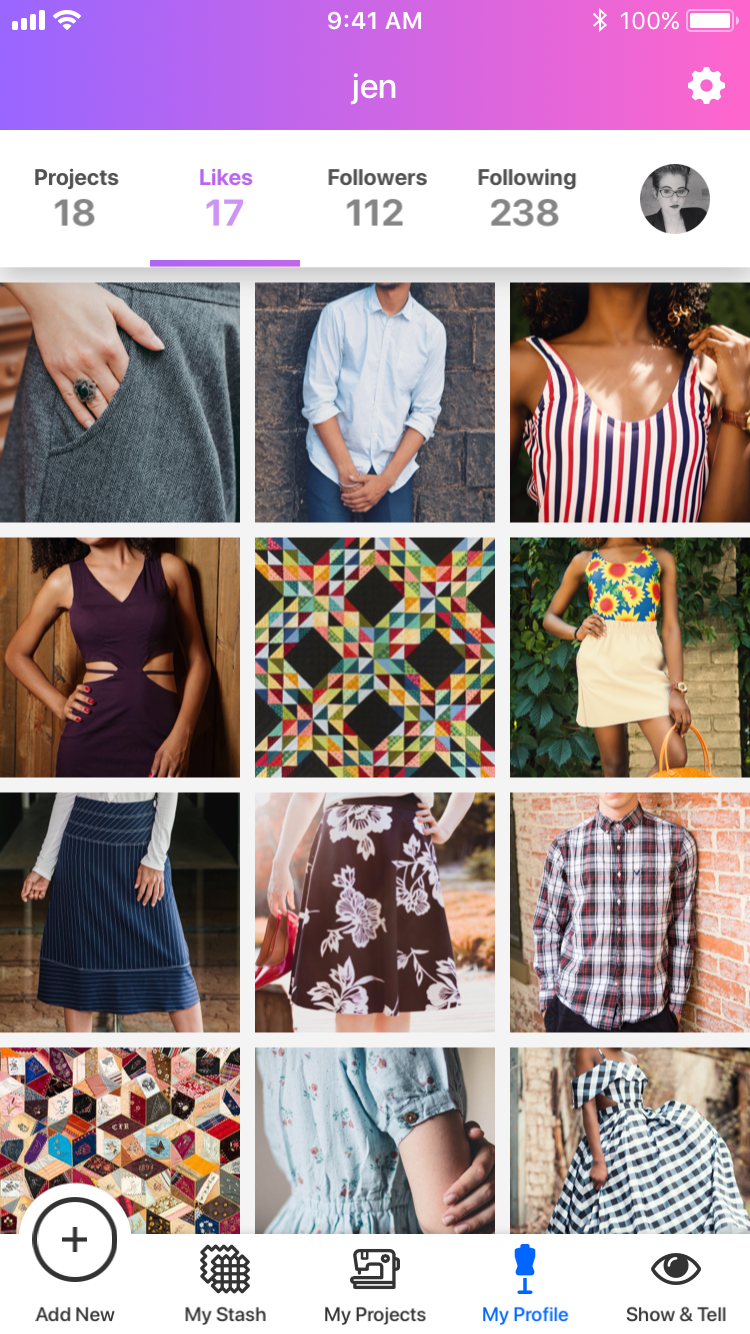
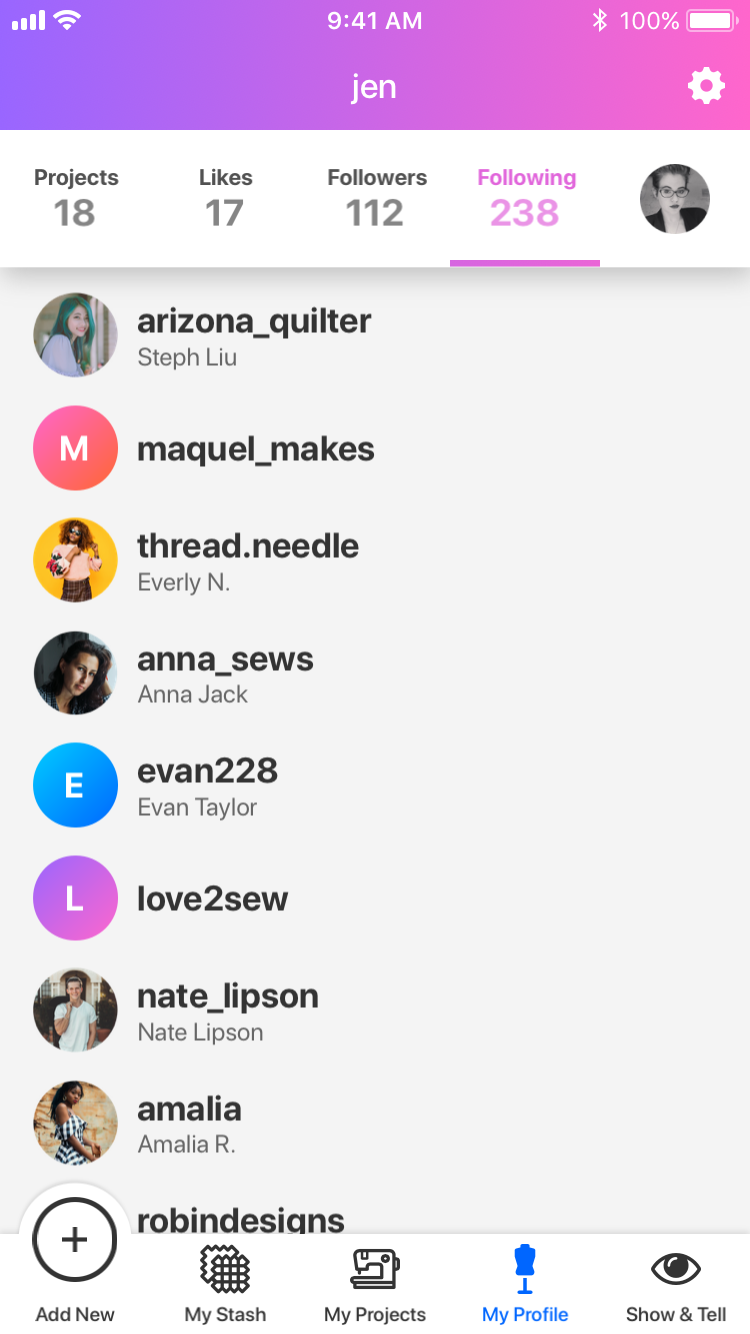
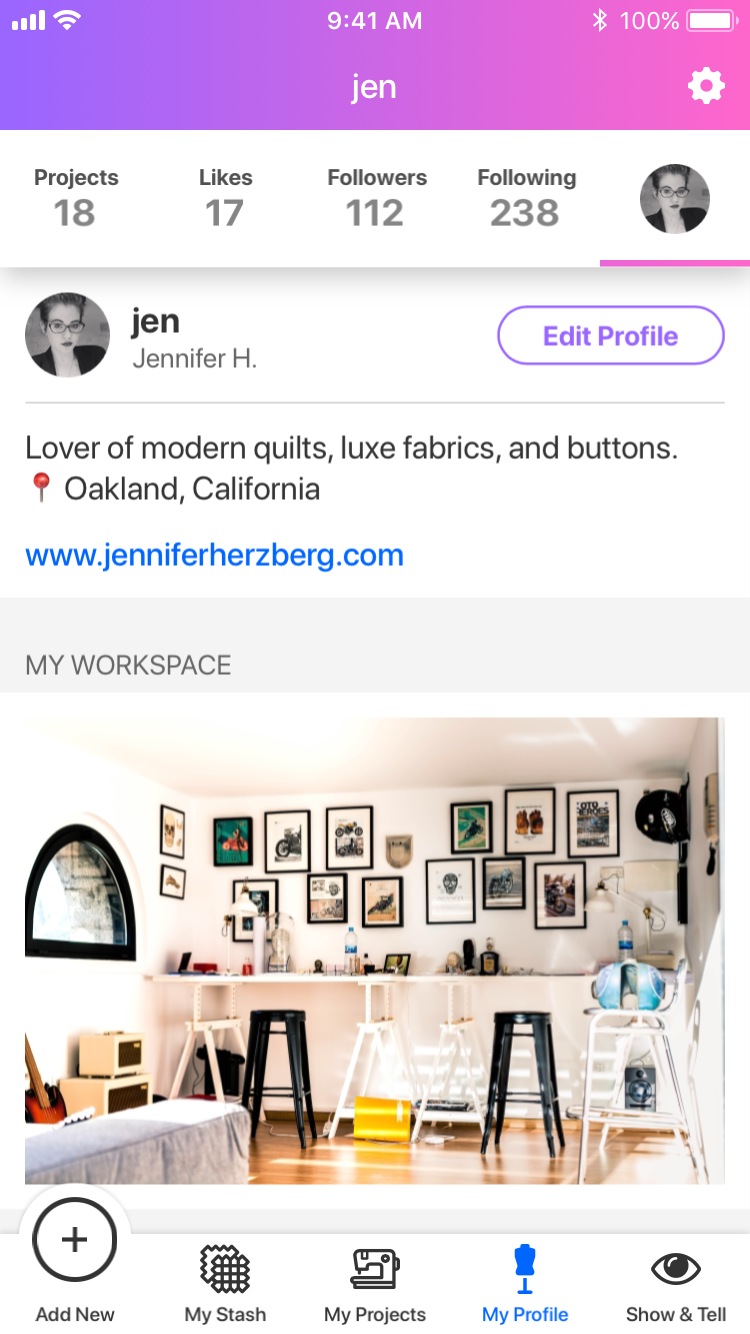
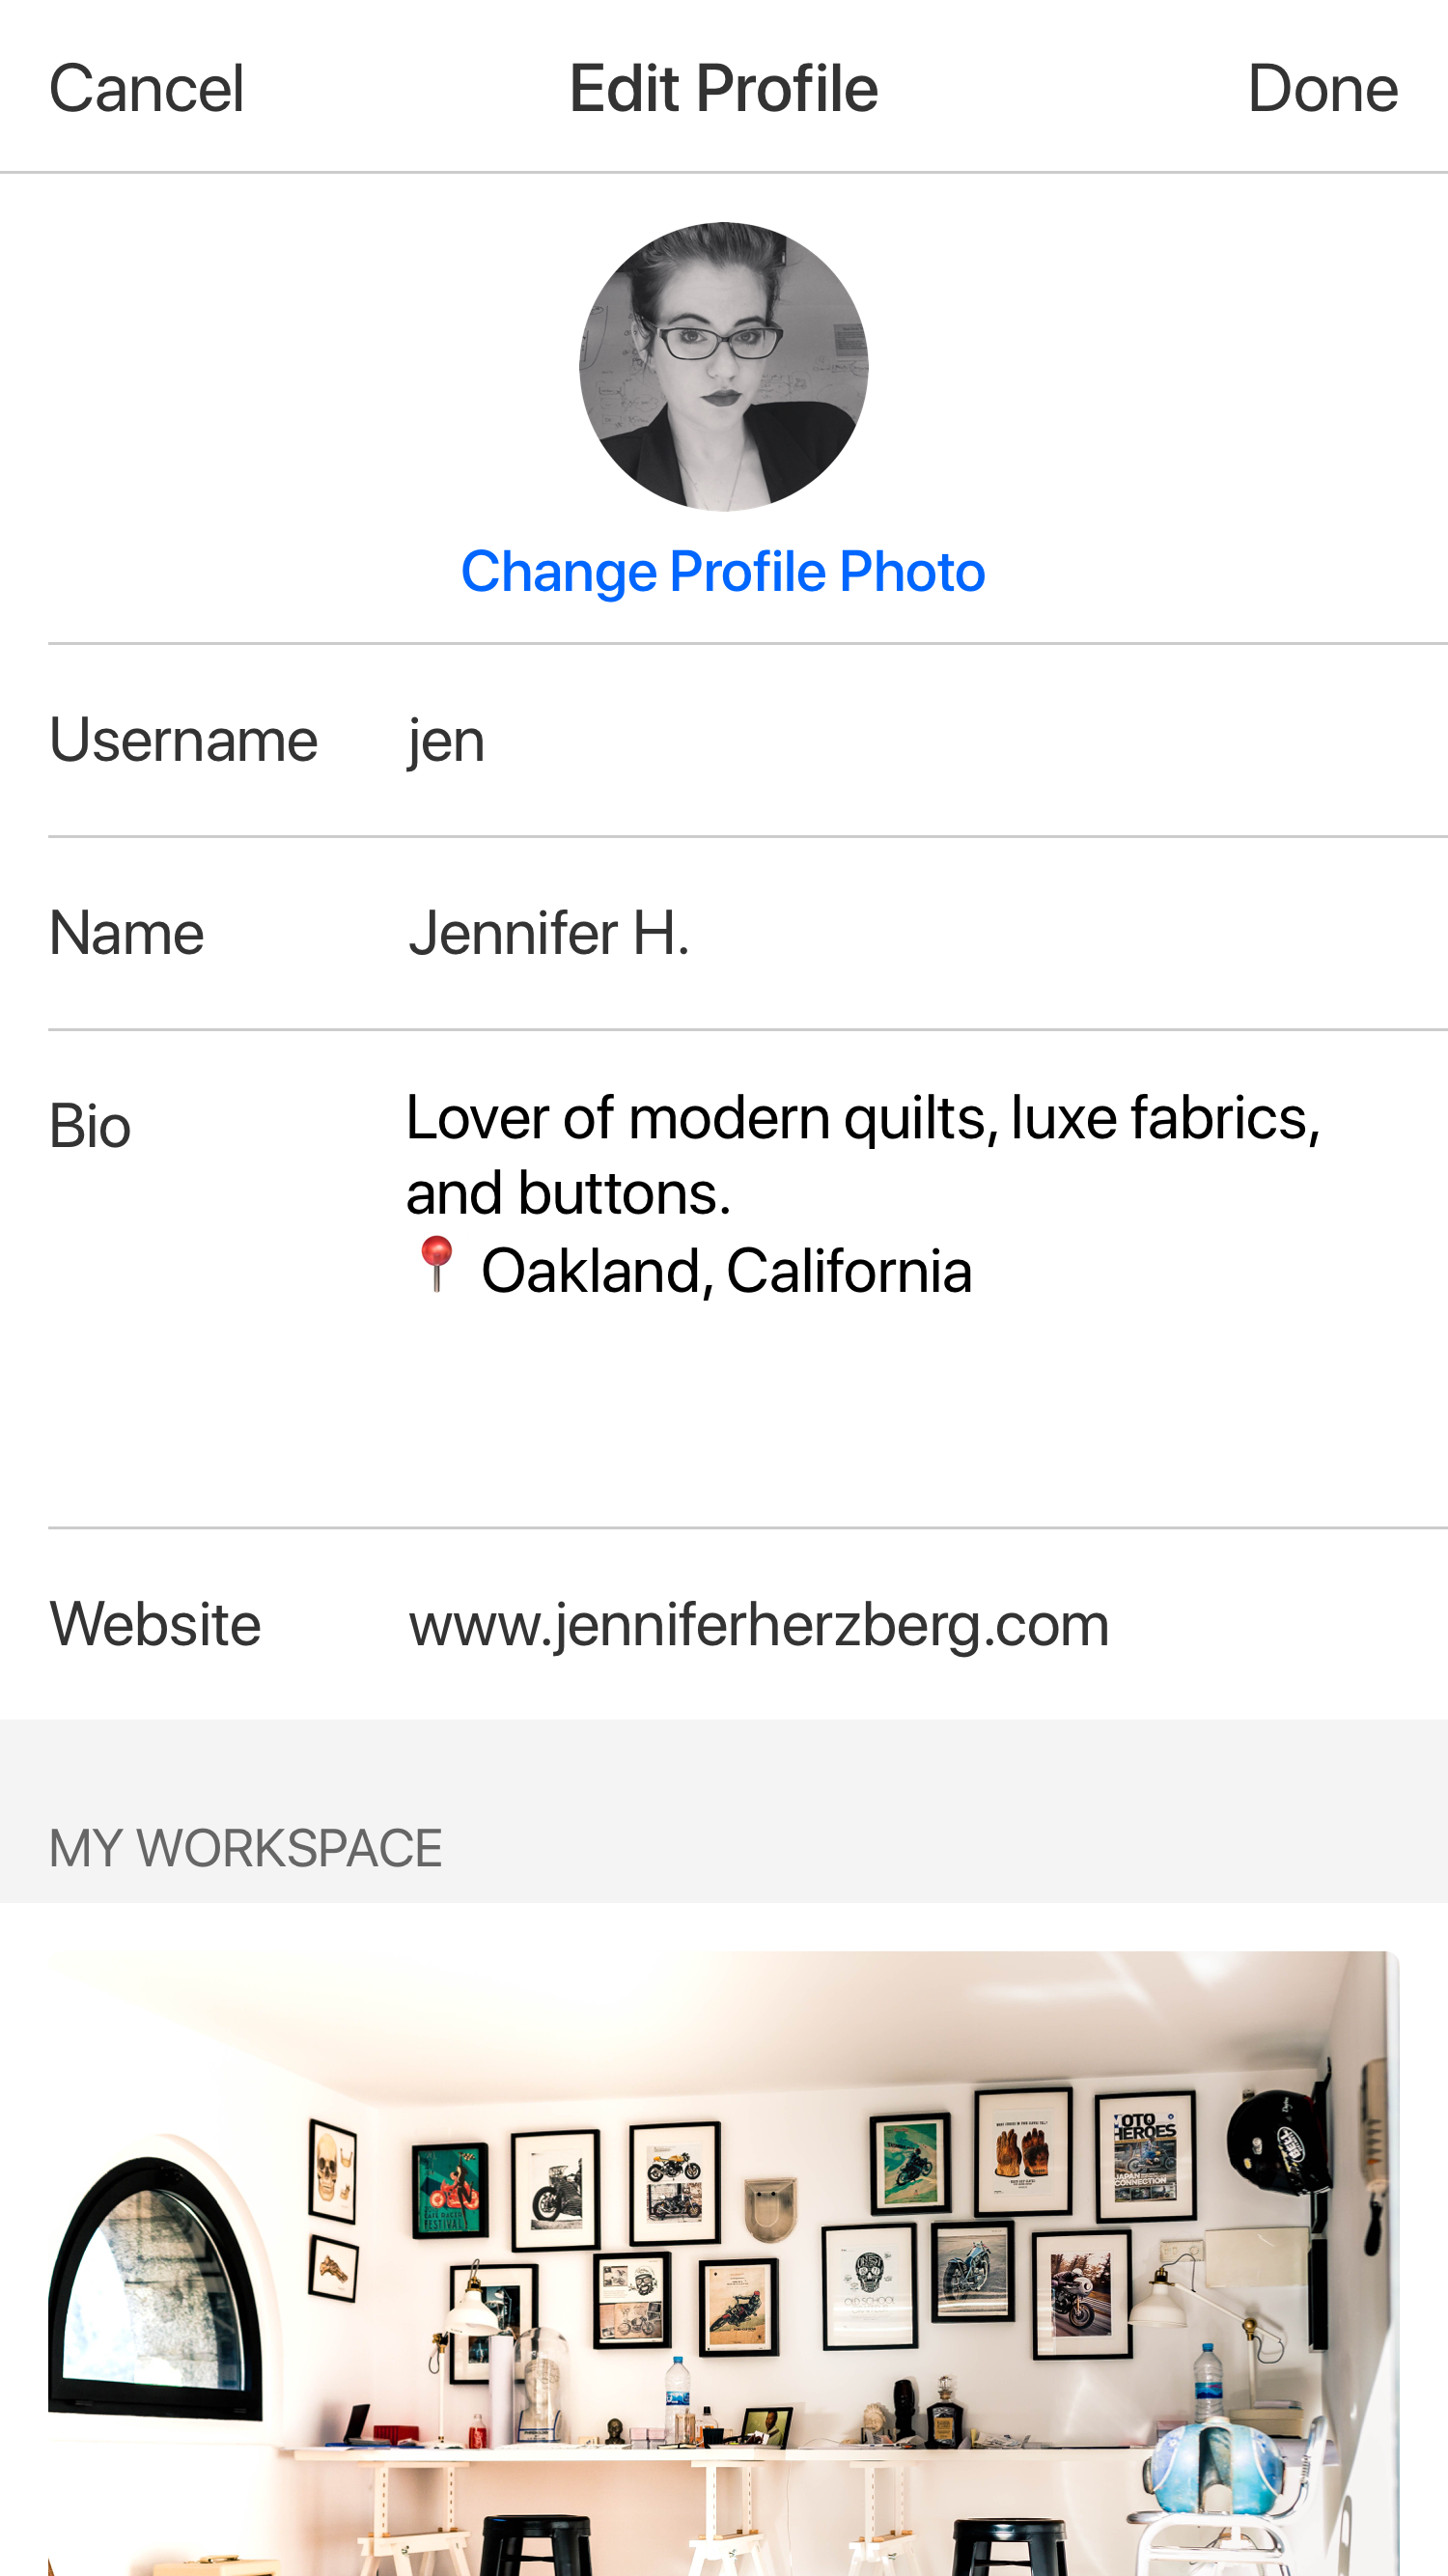
Stay tuned for interactive prototype of Stashv3. Below are current screenshots of Stash.

Day 05 • Validate
Today's Goal:
Use Google's HEART framework to validate the design.
- Happiness
- Engagement
- Adoption
- Retention
- Task Success
Today's Steps:
Use the earlier-developed goals, signals, and metrics to determine if three of these had been fulfilled: Happiness (personal), Task Success, and Adoption. Looking forward...
What Happened Next...
User Testing:
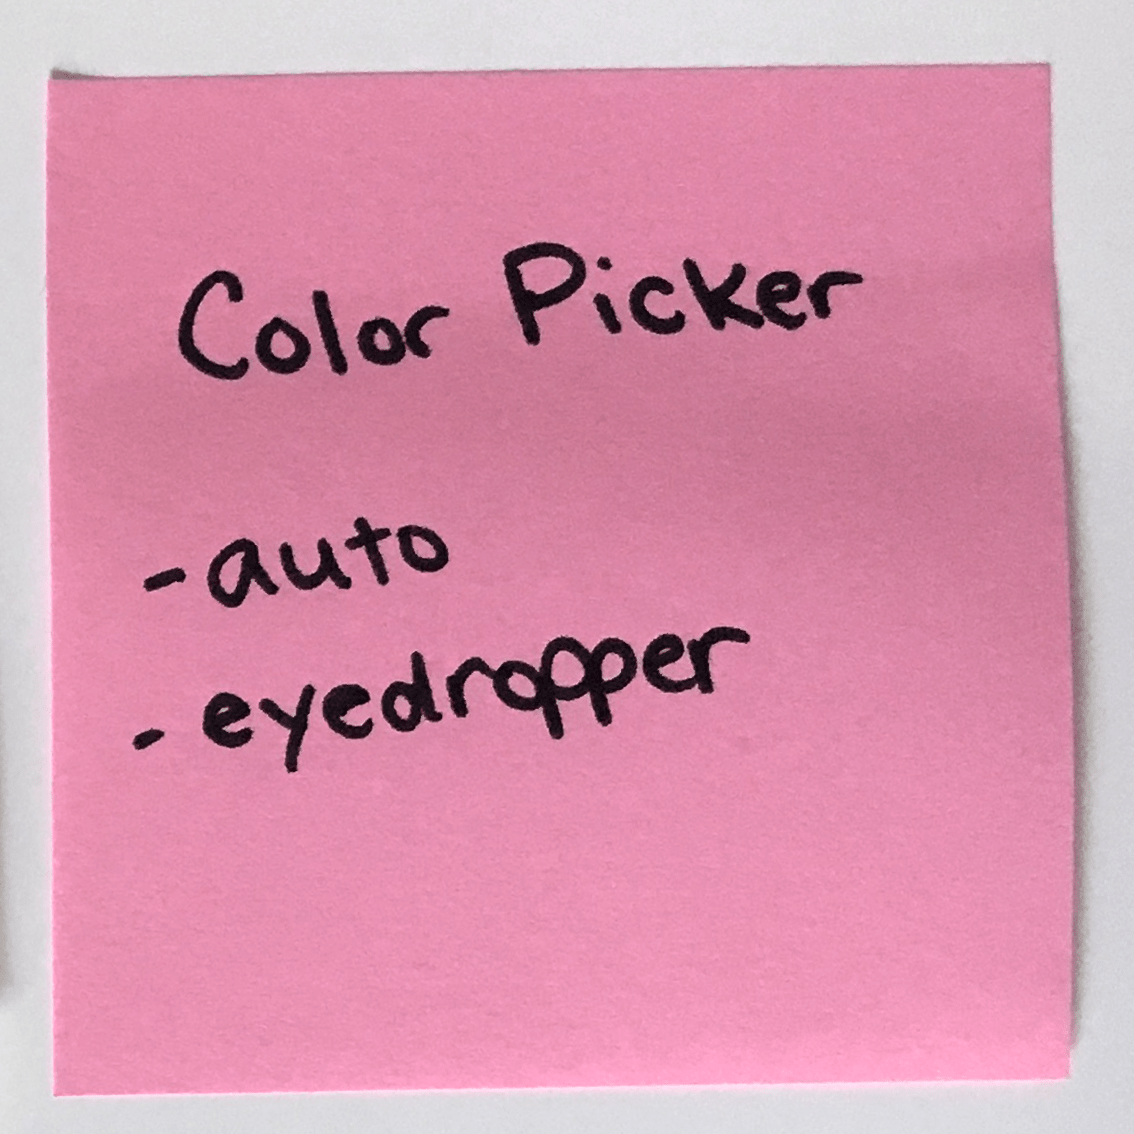
Hoping to solve some sticking points from Day 3, I reached out to online communities of sewists and quilters for feedback and user testing with the interactive prototypes. In particular, I found users had difficulties with the eyedropper color selection tool I had designed, so I started over on that tool and followed a design pattern that worked better for touchscreen uses.
Development:
Stay tuned!
HEART Framework Goals:
- Early testing showed drastically improved Task Success (metric: reduced user error)
- Adoption rates remain to be seen (but are looking promising based on user feedback and interest)
- [personal] Happiness with the redesign was definitely achieved!